Fluffy Homemade Buttermilk Scones Recipe – Fresh & Fabulous
Crisp mornings call for warm, buttery buttermilk scones that melt in your mouth with delightful ease.
Soft crumbs promise comfort and joy right from the first bite.
Golden-edged pastries whisper sweet promises of afternoon tea or leisurely breakfasts.
Delicate textures emerge from simple ingredients blended with care and precision.
Baking these tender treats connects you to generations of home cooks who understood the magic of humble ingredients.
Fragrant and light, these scones invite you to slow down and savor each delectable moment.
A single bite promises pure culinary bliss that will spark happiness in every corner of your kitchen.
What Makes Buttermilk Scones Tender and Buttery
Everything You Need for Perfect Scones
Dry Ingredients:Wet Ingredients:Fat Ingredient:Optional Add-Ins:Mixing Buttermilk Scones for a Flaky Finish
Step 1: Prepare Baking Environment
Warm up the oven to 400F (200C). Cover a baking sheet with parchment paper, creating a perfect landing spot for your soon-to-be-golden scones.
Step 2: Create Dry Ingredient Blend
In a spacious mixing bowl, whisk together:Blend these ingredients until they’re perfectly combined.
Step 3: Work in Butter Magic
Toss cold butter cubes into the flour mixture. Using a pastry cutter or your fingertips, break down the butter until the mixture looks like rough, crumbly sand.
Step 4: Bring Wet Ingredients Together
In a separate small bowl, stir buttermilk and vanilla extract. Pour this creamy mixture into the dry ingredients. Gently mix until just combined. If you’re adding extra goodies like dried fruits or chocolate chips, fold them in now.
Step 5: Shape the Scone Dough
Transfer the dough onto a lightly floured surface. Softly knead a few times to help it come together. Pat the dough into a circular shape about 3/4-inch thick.
Step 6: Cut and Arrange
Slice the circular dough into 8 wedge-shaped pieces. Carefully place each wedge on the prepared baking sheet, leaving a little space between them.
Step 7: Create Golden Finish
Brush the top of each scone with a light layer of buttermilk. This will help create a gorgeous golden-brown color during baking.
Step 8: Bake to Perfection
Slide the baking sheet into the preheated oven. Bake for 15-18 minutes, watching for a beautiful golden-brown color.
Step 9: Cool and Serve
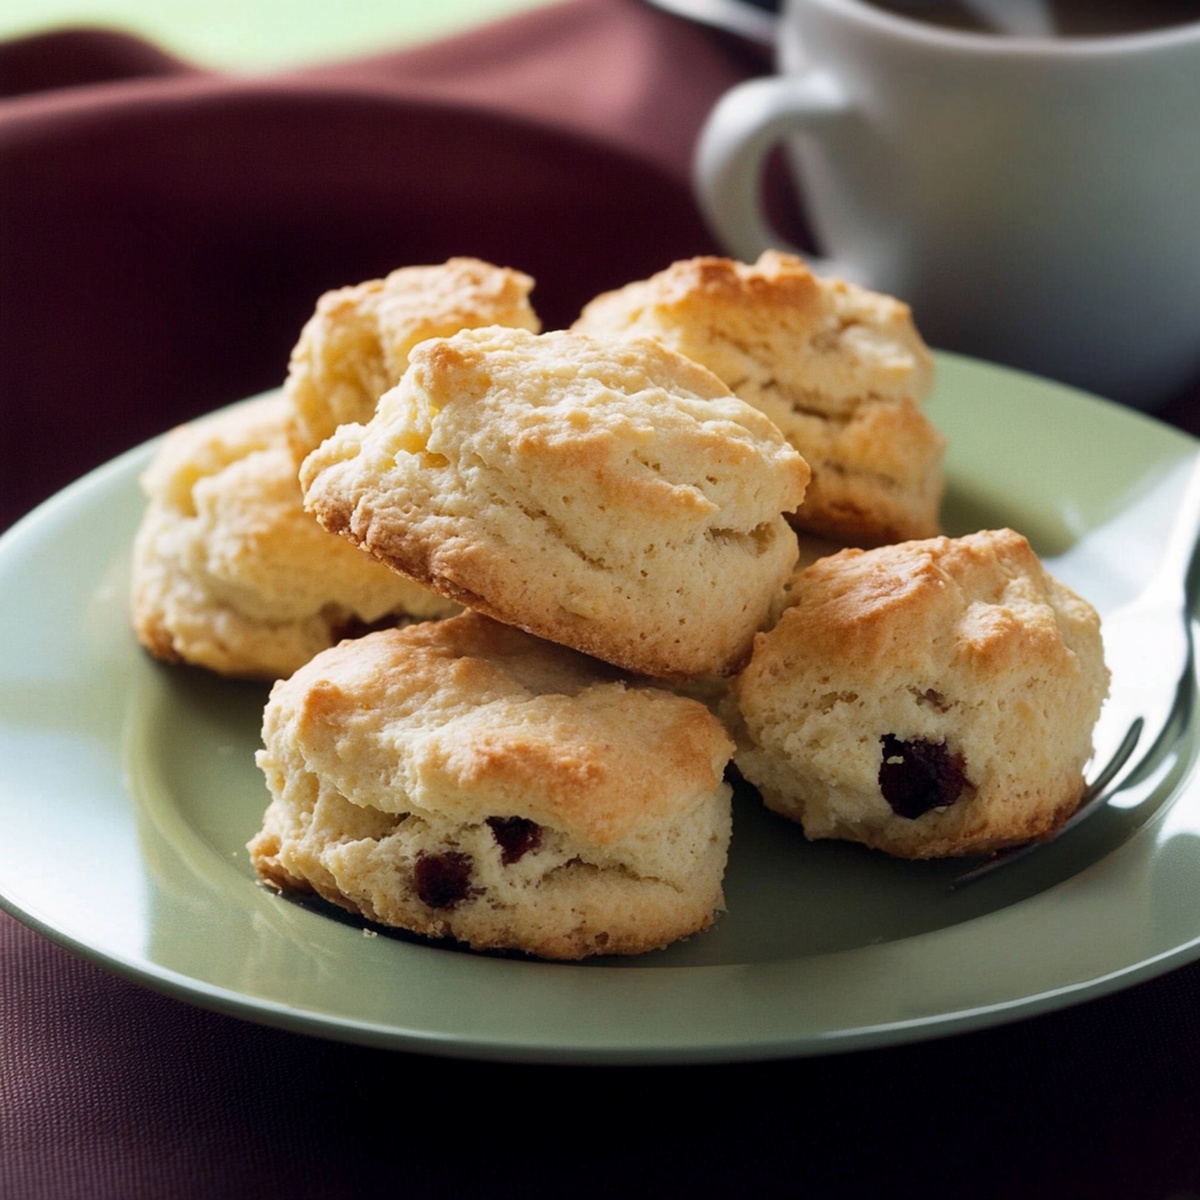
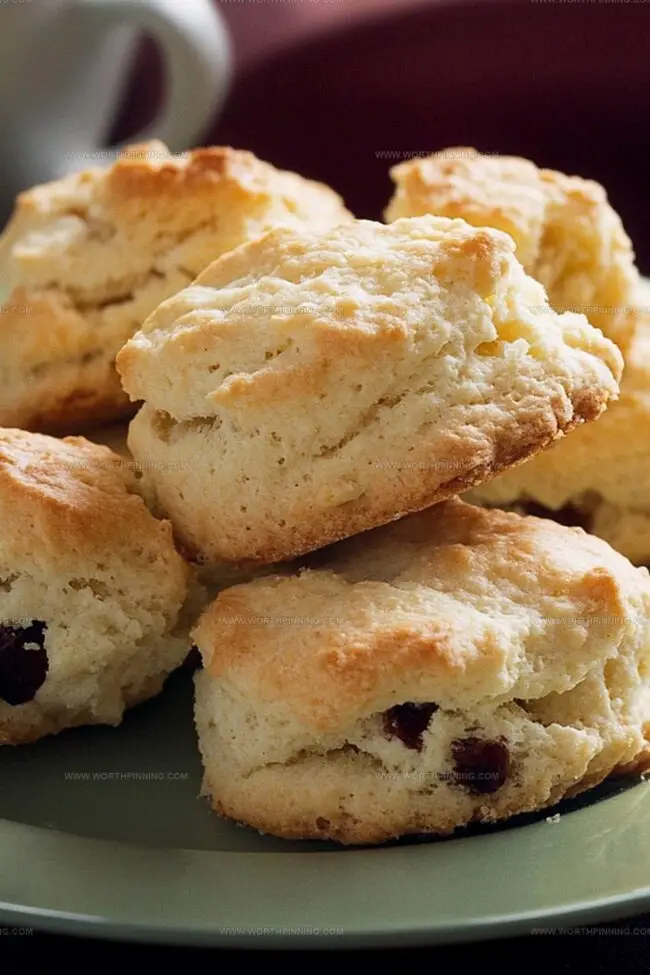
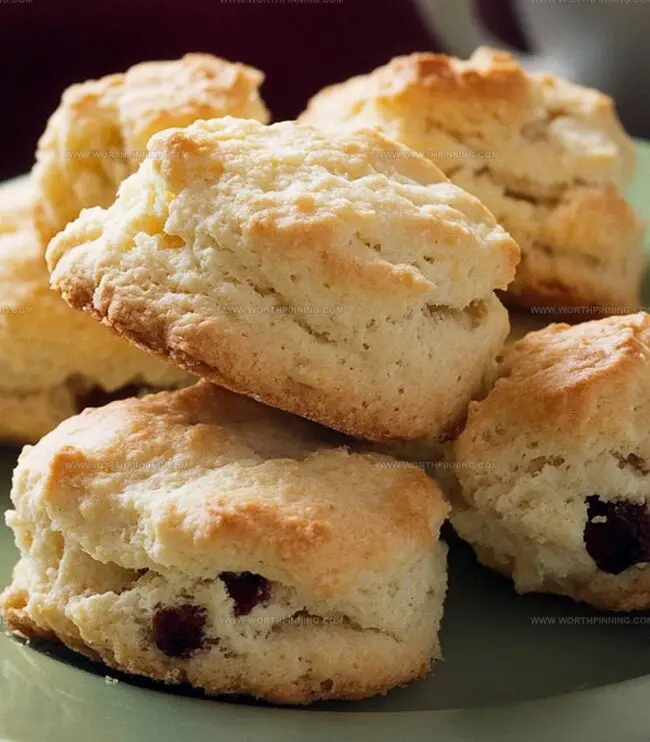
Allow the scones to cool slightly. Serve warm with butter, jam, clotted cream, or your favorite accompaniments.
Tips for Cutting, Folding, and Baking
How to Store and Reheat Scones for Another Day
Great Toppings to Serve with Buttermilk Scones
Scone Variations to Keep in Your Recipe Box
Scone FAQs You Should Know
Buttermilk is a tangy, fermented dairy product that adds moisture and helps create a tender, fluffy texture in scones. Its acidity also activates the baking soda, helping the scones rise and become light.
The mixture should look like coarse crumbs with small, pea-sized butter pieces. These butter pieces create flaky layers when baked, giving scones their signature tender texture.
You can prepare the dough, shape the wedges, and refrigerate them for up to 24 hours before baking. This can actually help develop more flavor and ensure a flakier texture when baked.
Popular add-ins include dried fruits like cranberries or currants, chocolate chips, nuts like pecans, or even citrus zest to enhance the flavor. Add about 3/4 cup of mix-ins to the basic recipe.
Print
Buttermilk Scones Recipe
- Total Time: 25 minutes
- Yield: 8 1x
Description
Buttermilk scones offer a delightful journey through classic British bakery traditions. Crumbly, tender, and perfectly balanced, these scones invite you to savor a moment of pure culinary comfort with each delectable bite.
Ingredients
Main Dry Ingredients:
- 2 cups (480 ml / 16 oz) all-purpose flour
- ¼ cup (50 g) granulated sugar
- 1 tablespoon (15 ml) baking powder
- ½ teaspoon baking soda
- ½ teaspoon salt
Fat and Liquid Ingredients:
- ½ cup (113 g / 1 stick) cold unsalted butter, cut into small cubes
- ¾ cup (180 ml) buttermilk, plus extra for brushing
- 1 teaspoon (5 ml) vanilla extract
Optional Add-Ins:
- ½ cup (80 g) add-ins (dried fruit, chocolate chips, or berries)
Instructions
- Preheat the oven to a toasty 400F (200C) and line a baking sheet with parchment paper for easy cleanup.
- In a spacious mixing bowl, thoroughly combine the dry ingredients – flour, sugar, baking powder, baking soda, and salt – using a whisk to ensure even distribution.
- Introduce cold butter cubes to the dry mixture, using a pastry cutter or nimble fingers to break down the butter until the texture resembles rough, sandy crumbs.
- Whisk together buttermilk and vanilla in a separate small bowl, then pour the liquid into the dry ingredients, stirring minimally to maintain a tender crumb. If incorporating additional mix-ins like dried fruit or chocolate chips, gently fold them into the dough at this stage.
- Transfer the shaggy dough onto a lightly floured surface and perform a gentle kneading, just enough to bring the ingredients together. Carefully shape the dough into a circular disk approximately 3/4-inch thick.
- Using a sharp knife, divide the circular dough into 8 equal triangular wedges, positioning them slightly apart on the prepared baking sheet.
- Enhance the scones’ appearance by delicately brushing the tops with additional buttermilk, which will create a beautifully golden, glossy finish during baking.
- Slide the baking sheet into the preheated oven and bake for 15-18 minutes, watching for a rich golden-brown color that signals perfect doneness.
- Remove from the oven and allow the scones to cool briefly, serving them warm alongside clotted cream, jam, or your preferred accompaniments.
Notes
- Cold butter is crucial for achieving a flaky, tender texture in your scones, so keep it refrigerated until just before use.
- Minimal handling of the dough prevents gluten development, ensuring a lighter, more delicate scone with a melt-in-your-mouth consistency.
- Customize your scones by adding dried fruits, chocolate chips, or nuts to create unique flavor combinations that suit your taste preferences.
- For a gluten-free version, substitute all-purpose flour with a 1:1 gluten-free baking blend to accommodate dietary restrictions without sacrificing taste or texture.
- Prep Time: 10 minutes
- Cook Time: 15 minutes
- Category: Breakfast, Snacks, Desserts
- Method: Baking
- Cuisine: British
Nutrition
- Serving Size: 8
- Calories: 290
- Sugar: 18 g
- Sodium: 800 mg
- Fat: 3 g
- Saturated Fat: 1 g
- Unsaturated Fat: 2 g
- Trans Fat: 0 g
- Carbohydrates: 25 g
- Fiber: 0 g
- Protein: 36 g
- Cholesterol: 90 mg
Ethan Miller
Founder & Lead Content Writer
Expertise
Education
Portland Community College
Culinary Institute of the Pacific
Ethan’s culinary journey began in his grandmother’s kitchen, where he first learned to play with flavors and ingredients. With formal training in culinary arts and a deep love for international cuisines, Ethan’s goal is to share the joy of cooking with others.
He believes food is all about creativity and bringing people together, one meal at a time. When he’s not experimenting with new dishes, he enjoys hiking in the Oregon wilderness and discovering fresh, local ingredients.