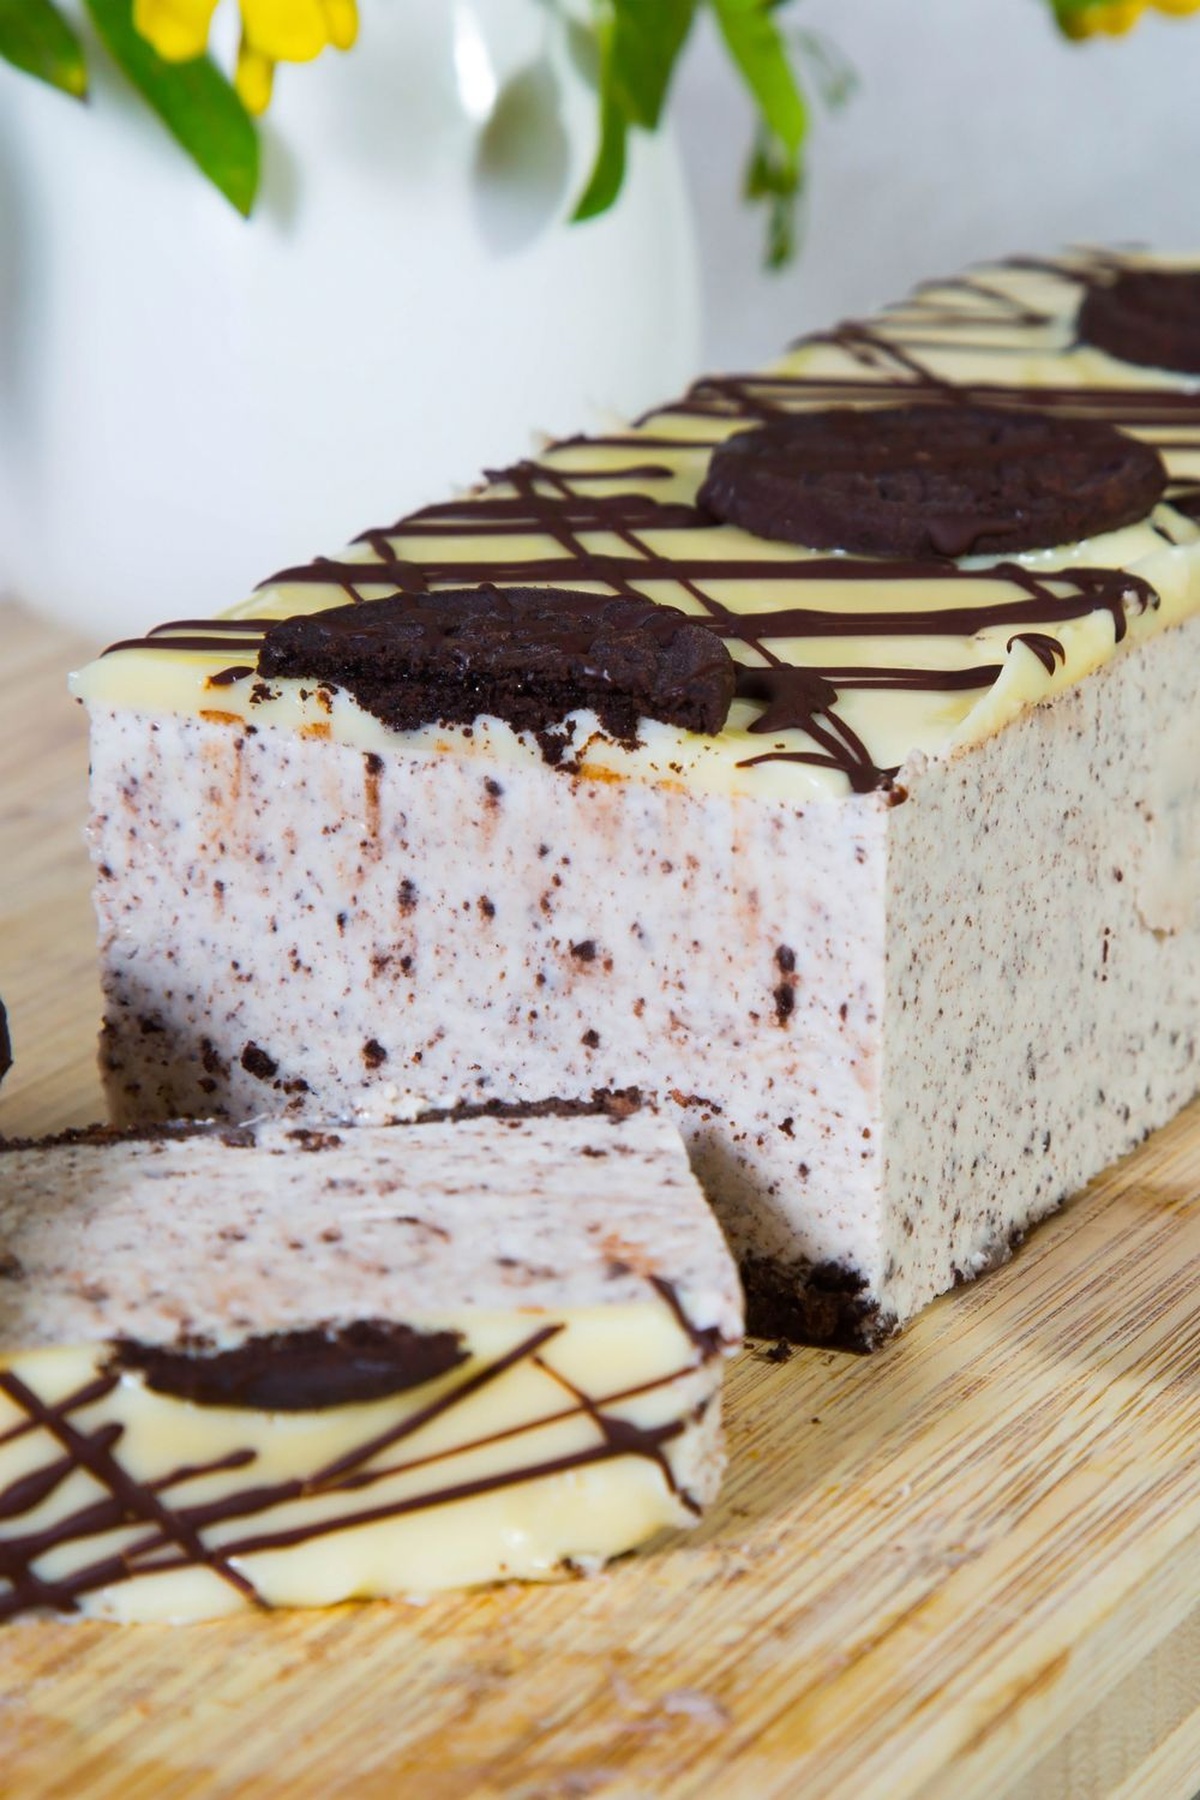
Easy 5-Ingredient Alton Brown Icebox Cake Recipe for Summer Fun
An icebox cake represents a delightful dessert strategy that transforms simple ingredients into something magical.
Refrigeration becomes the secret weapon for creating a luscious, creamy confection without ever touching an oven.
Crisp wafers gradually soften and meld with smooth, decadent cream as they rest in cool darkness.
Layers of contrasting textures develop complexity with minimal effort, making this treat perfect for spontaneous sweet cravings.
Chocolate and cream intertwine, creating a harmonious blend that promises indulgence without complicated preparation techniques.
Minimal skills and maximum flavor define this elegant dessert approach that feels both sophisticated and wonderfully accessible.
Summer gatherings or quiet evening treats will never be the same with this delectable creation: prepare to be amazed.
Why Alton Brown’s Icebox Cake Is the Perfect No-Bake Dessert for Any Occasion
What You’ll Need for Alton Brown’s Icebox Cake
Main Ingredients:
Chocolate Wafers: Key structural component for the cake’s layers, providing a classic crisp texture and rich chocolate flavor. Chocolate brand matters for taste quality.
Heavy Cream: Primary creamy base that creates the cake’s luxurious texture and smooth consistency. Fresh, high-fat content cream recommended.
Powdered Sugar: Sweetens and stabilizes the whipped cream mixture. Fine-grain sugar ensures smooth integration.
Liquid Ingredients:
Espresso Powder: Enhances deep chocolate flavor and adds subtle coffee undertones. High-quality instant espresso preferred.
Coffee Liqueur: Provides rich, complex flavor depth and complements chocolate notes. Optional substitution possible.
Vanilla: Adds warm, classic flavoring that rounds out cream’s richness. Pure vanilla extract recommended.
Stabilizing Ingredients:
Gelatin: Helps maintain cream’s structure and prevents separation during chilling. Unflavored, high-quality gelatin works best.
Cold Water: Activates and blooms gelatin for proper preparation. Filtered water recommended.
Salt: Balances sweetness and enhances overall flavor profile. Fine sea salt preferred.
How to Create Alton Brown’s Icebox Cake
Step 1: Prepare The Loaf Pan
Line an 8 x 4 x 3 inch loaf pan with plastic wrap, creating generous overhangs on all sides for easy removal later.
Step 2: Create Chocolate Wafer Base
Carefully arrange chocolate wafers in a single layer covering the bottom and sides of the pan.
Step 3: Activate Gelatin
In a small saucepan, combine gelatin with cold water and let sit for 5 minutes at room temperature. Gently warm over low heat, avoiding boiling.
Step 4: Enhance Gelatin Mixture
Remove from heat and stir in:Step 5: Whip Cream Base
Using a stand mixer, whip together:Beat on high speed for 1 minute 30 seconds until soft peaks form.
Step 6: Incorporate Gelatin
Reduce mixer speed to low, slowly pour in chilled gelatin mixture. Return to high speed and whip for additional 30 seconds until stiff peaks develop.
Step 7: Fill Pan
Pour whipped cream mixture into prepared pan, filling approximately 3/4 full.
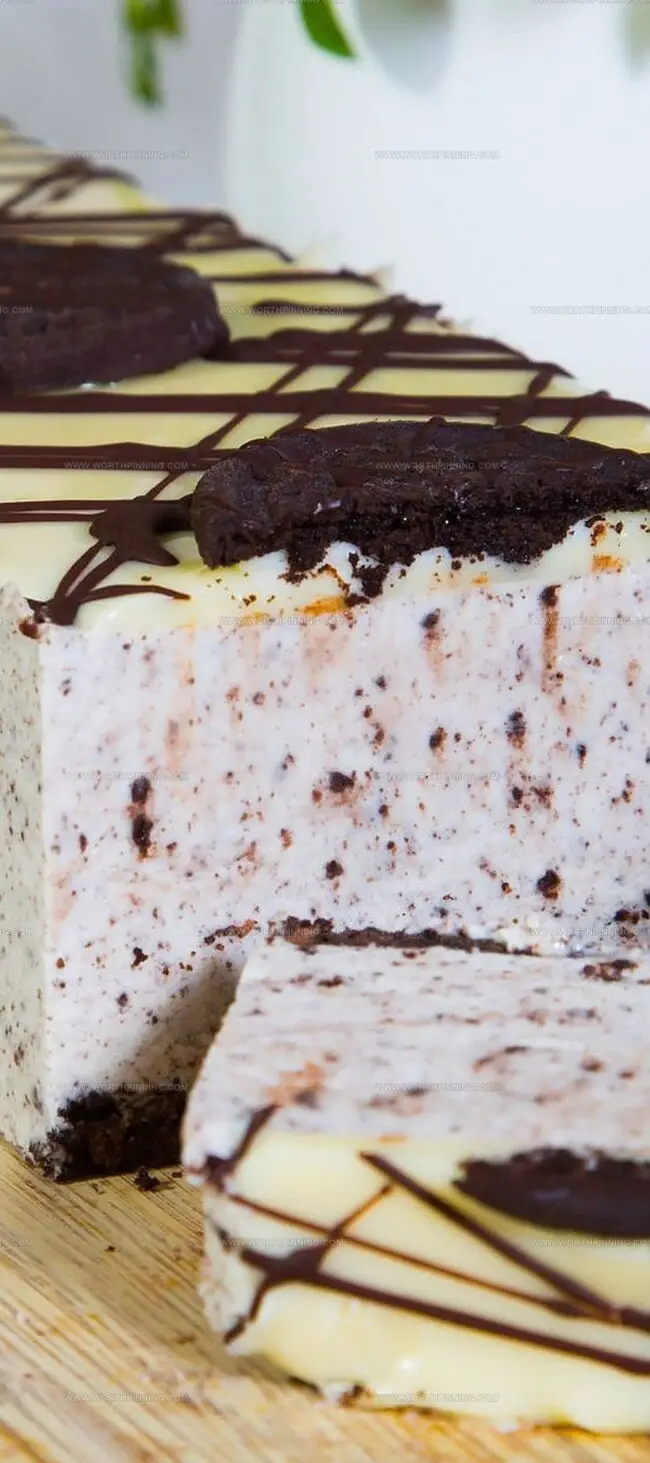
Step 8: Add Chocolate Wafer Rows
Arrange remaining chocolate wafers in 4 rows of 12 cookies, positioning edge-side down into whipped cream with slight spacing between each cookie.
Step 9: Complete Cream Layer
Distribute remaining whipped cream evenly across cookie rows.
Step 10: Chill Cake
Fold plastic wrap over cake and refrigerate for 8-24 hours.
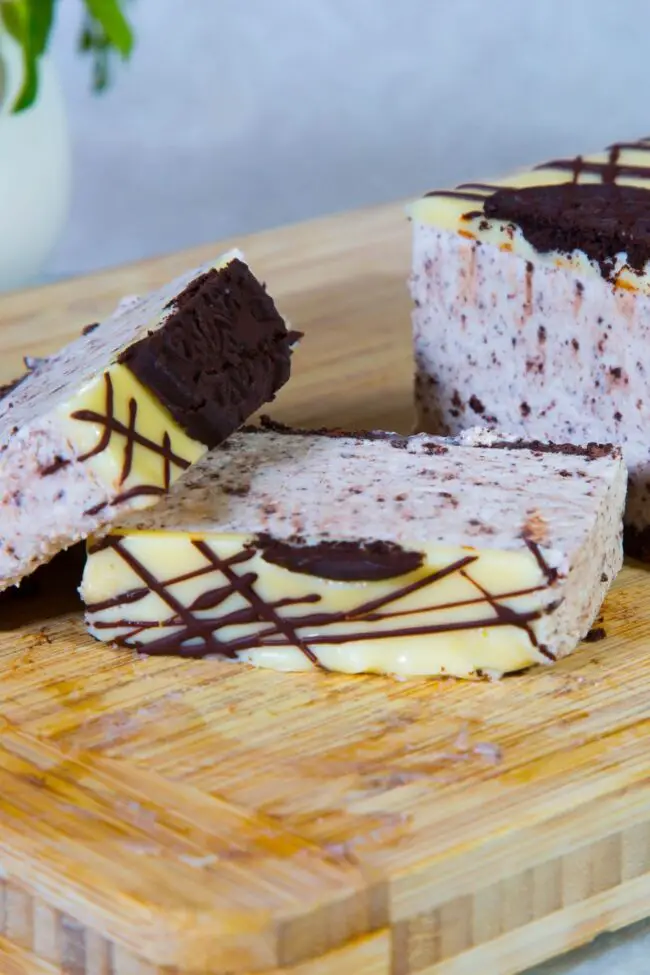
Step 11: Serve Cake
Carefully remove cake from plastic wrap, transfer to serving plate, slice, and serve immediately.
Pro Tips for the Best Icebox Cake
How to Store Alton Brown’s Icebox Cake
Fun Variations of Alton Brown’s Icebox Cake
A Light, Creamy Delight: Alton Brown’s Icebox Cake
Culinary magic emerges from Alton Brown’s icebox cake, blending rich coffee notes with chocolate wafer elegance.
Creamy layers whisper sophistication through each delectable slice.
Sophisticated dessert lovers will discover pure indulgence within this chilled masterpiece.
Chocolate and espresso dance harmoniously, creating memorable flavor symphonies.
Cold cream and crisp wafers collaborate like culinary artists, crafting sensational textures.
Passionate bakers, share this delightful recipe across social platforms, inspire kitchen creativity, and spark delicious conversations among fellow dessert enthusiasts.
Print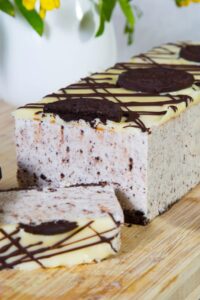
Alton Brown Icebox Cake Recipe
- Total Time: 20 minutes
- Yield: 8 1x
Description
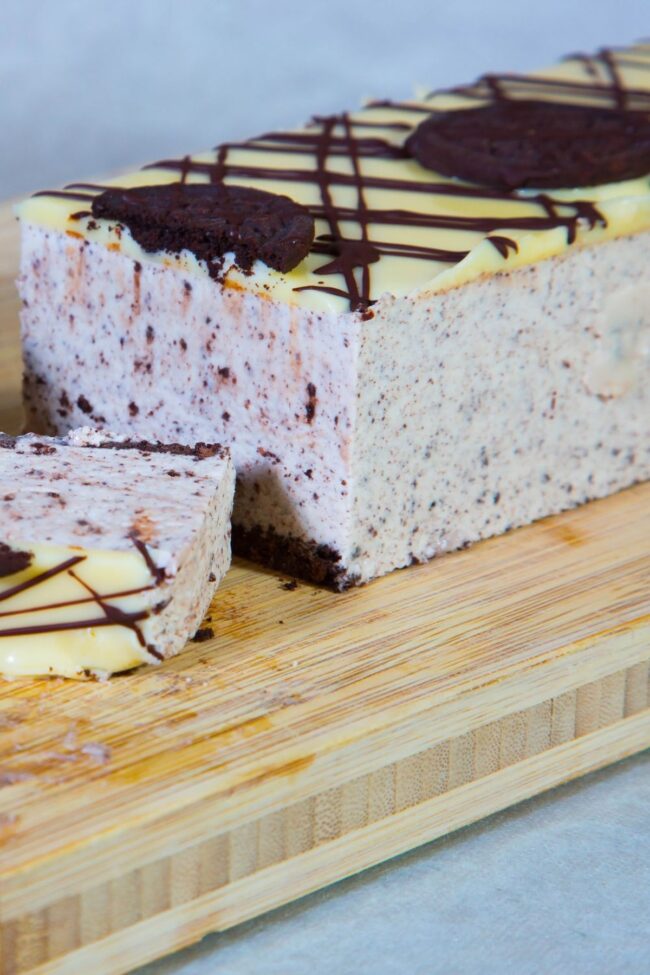
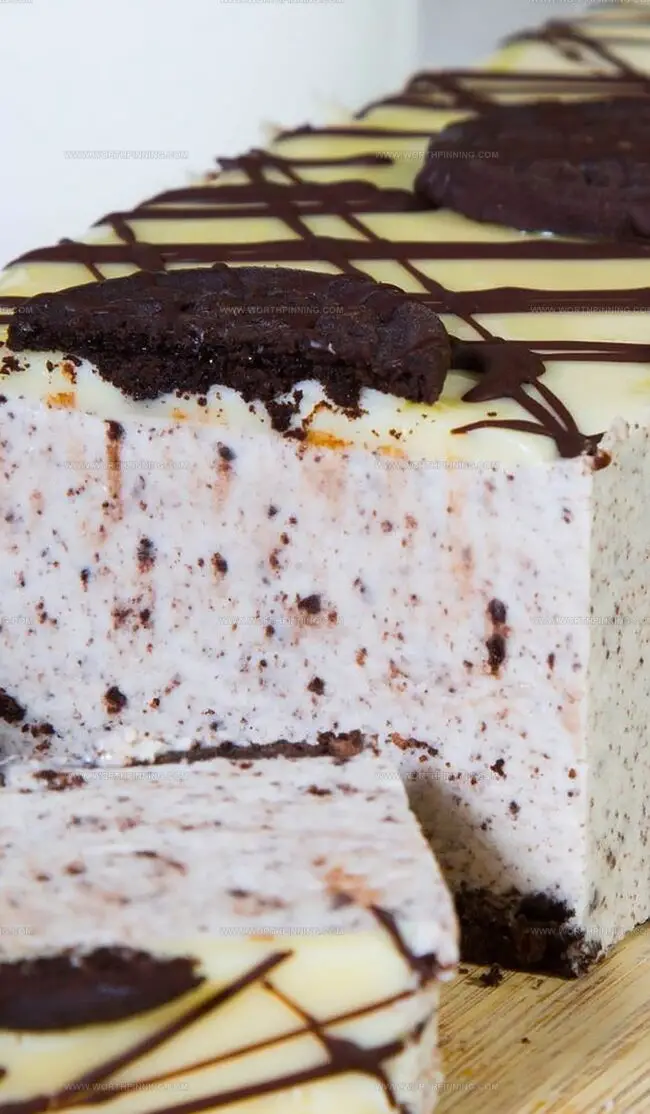
Alton Brown’s Icebox Cake delivers classic dessert magic with minimal effort. Layers of whipped cream and chocolate wafers create a delightful no-bake treat you can chill and slice for a cool, creamy indulgence.
Ingredients
Main Ingredients:
- 3 cups (710 ml) heavy cream, cold
- 70 chocolate wafer cookies
- 1 packet powdered gelatin
Main Flavoring Ingredients:
- 4 teaspoons instant espresso powder
- 2 tablespoons coffee liqueur
- 1 teaspoon vanilla extract
Finishing Ingredients:
- ¼ cup (60 ml) powdered sugar
- ¼ teaspoon kosher salt
Instructions
- Line an 8-inch by 4-inch by 3-inch (20.3 cm by 10.2 cm by 7.6 cm) loaf pan with plastic wrap, creating generous overhangs on all sides for easy removal.
- Create a base layer by carefully positioning chocolate wafers across the bottom and vertically along the pan’s interior walls, ensuring complete coverage.
- In a small saucepan, sprinkle gelatin over 1/4 cup (60 milliliters) of cold water, allowing it to hydrate and bloom for 5 minutes at room temperature.
- Gently heat the gelatin mixture over low heat, stirring until completely dissolved. Avoid boiling to preserve gelatin’s structural integrity.
- Remove from heat and incorporate espresso powder, pure vanilla extract, and coffee liqueur, stirring until uniformly combined.
- Using a stand mixer, whip heavy cream, powdered sugar, and a pinch of salt on high speed until soft, billowy peaks form, approximately 1 minute and 30 seconds.
- Reduce mixer speed to low, gradually stream in the cooled gelatin mixture, then return to high speed and whip until stiff, glossy peaks develop.
- Transfer the whipped cream mixture into the prepared pan, filling approximately three-quarters of the space.
- Methodically arrange remaining chocolate wafers in 4 precise rows of 12 cookies, positioning them edge-down and leaving slight gaps between each cookie.
- Distribute remaining whipped cream between cookie rows, smoothing the surface to create an even layer.
- Fold plastic wrap overhang gently across the top, sealing the dessert completely.
- Refrigerate for a minimum of 8 hours and a maximum of 24 hours to allow complete setting and flavor melding.
- When ready to serve, carefully unwrap the plastic, transfer to a serving plate, slice cleanly, and present immediately.
Notes
- Cold ingredients guarantee a light, airy texture that elevates the entire dessert’s structure.
- Premium chocolate wafers and robust espresso transform this simple treat into an extraordinary experience.
- Precise wafer placement creates seamless layers that meld together like a delicious architectural masterpiece.
- Extended resting time allows flavors to develop deep, complex notes that dance across your palate.
- Prep Time: 20 minutes
- Cook Time: 0 minutes
- Category: Desserts
- Method: Blending
- Cuisine: American
Nutrition
- Serving Size: 8
- Calories: 294
- Sugar: 3.5 g
- Sodium: 25 mg
- Fat: 28 g
- Saturated Fat: 17 g
- Unsaturated Fat: 11 g
- Trans Fat: 0 g
- Carbohydrates: 13.4 g
- Fiber: 0.2 g
- Protein: 1.9 g
- Cholesterol: 76 mg
Ethan Miller
Founder & Lead Content Writer
Expertise
Education
Portland Community College
Culinary Institute of the Pacific
Ethan’s culinary journey began in his grandmother’s kitchen, where he first learned to play with flavors and ingredients. With formal training in culinary arts and a deep love for international cuisines, Ethan’s goal is to share the joy of cooking with others.
He believes food is all about creativity and bringing people together, one meal at a time. When he’s not experimenting with new dishes, he enjoys hiking in the Oregon wilderness and discovering fresh, local ingredients.