
Sweet Fall Pioneer Woman Apple Crisp Recipe
Apple crisp embodies the warmth of homestyle baking with its rustic charm and irresistible aroma.
Sweet, tangy fruit nestles beneath a golden, crumbly topping that beckons comfort seekers and dessert lovers.
Home kitchens transform simple ingredients into a magical experience that connects generations through shared culinary traditions.
Seasonal harvests inspire this beloved dessert, combining soft, tender fruit with a crunchy, caramelized layer that melts in your mouth.
Baking this treat fills spaces with nostalgic scents that transport you to cherished memories of family gatherings.
Simple techniques and wholesome ingredients make this recipe accessible to all bakers.
Why Apple Crisp Is the Perfect Fall Dessert
All the Ingredients for Pioneer Woman’s Apple Crisp
Fruits:Dry Topping Ingredients:Spices and Seasonings:Wet Ingredients:Step-by-Step Instructions for Classic Apple Crisp
Step 1: Warm Up the Oven
Preheat the oven to 350°F (175°C). Generously coat a 9×13-inch glass baking dish with butter to prevent sticking.
Step 2: Prepare the Apple Base
Step 3: Create Apple Seasoning
In a mixing bowl, combine:Sprinkle this seasoning mixture evenly over the apple slices. Drizzle water across the apples.
Step 4: Craft the Crispy Topping
In a separate bowl, mix together:Gradually pour melted butter into the dry ingredients, stirring until the mixture becomes completely moistened and crumbly.
Step 5: Layer the Topping
Spread the oat mixture completely over the apple layer, ensuring full coverage.
Step 6: Bake to Golden Perfection
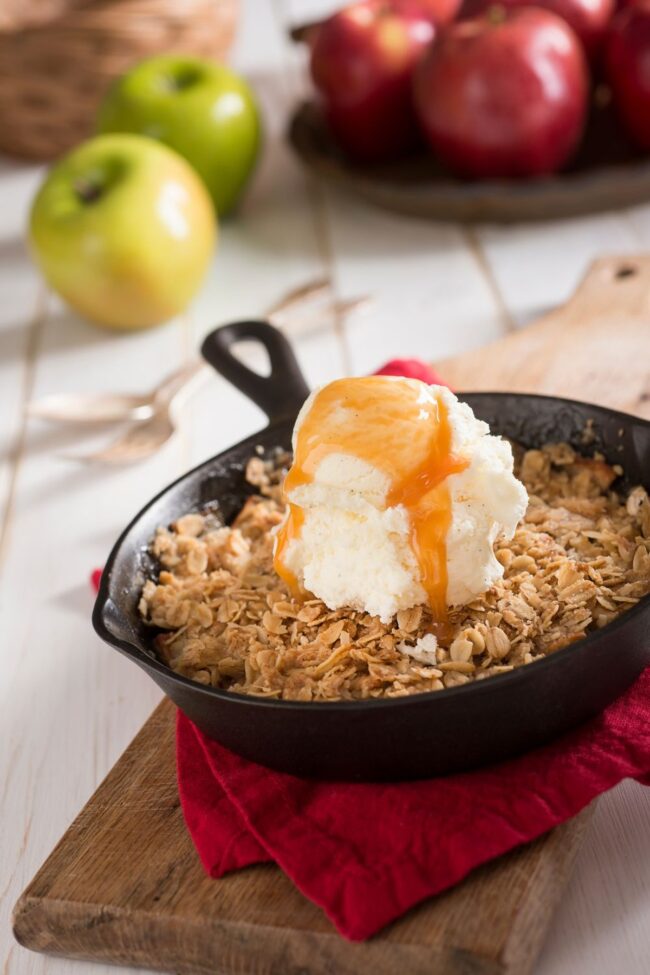
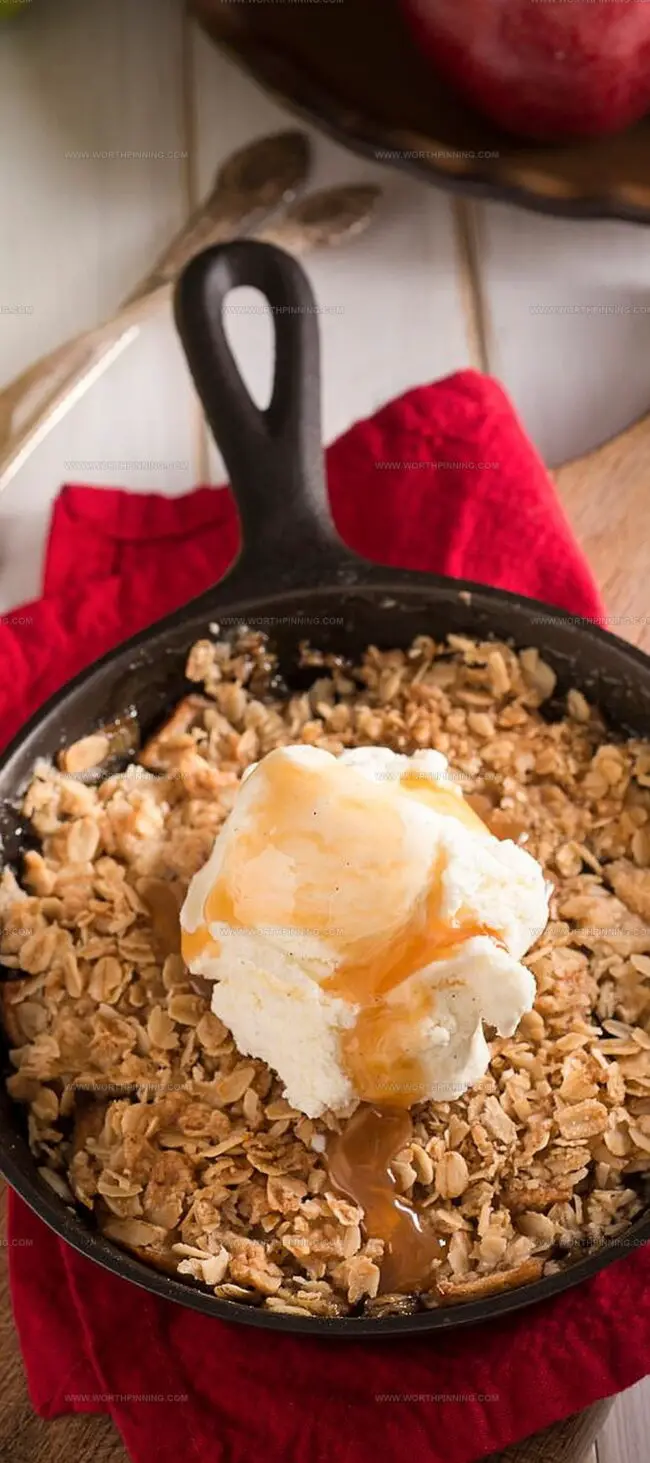
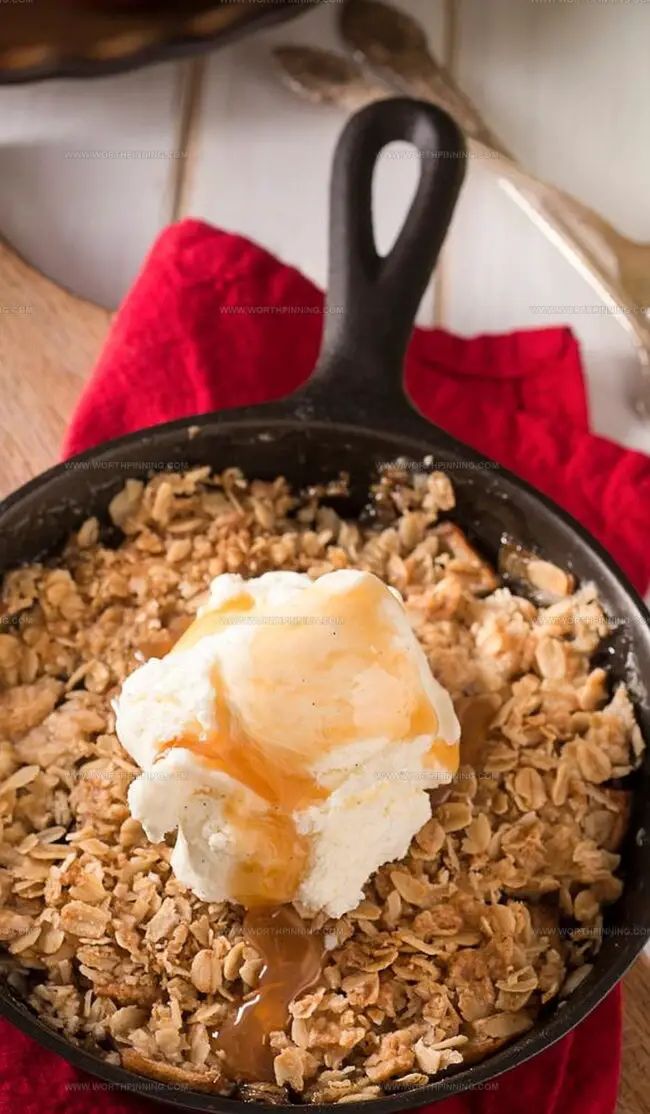
Place the baking dish in the preheated oven. Bake for 43 minutes until the topping turns a beautiful golden brown and becomes wonderfully crisp.
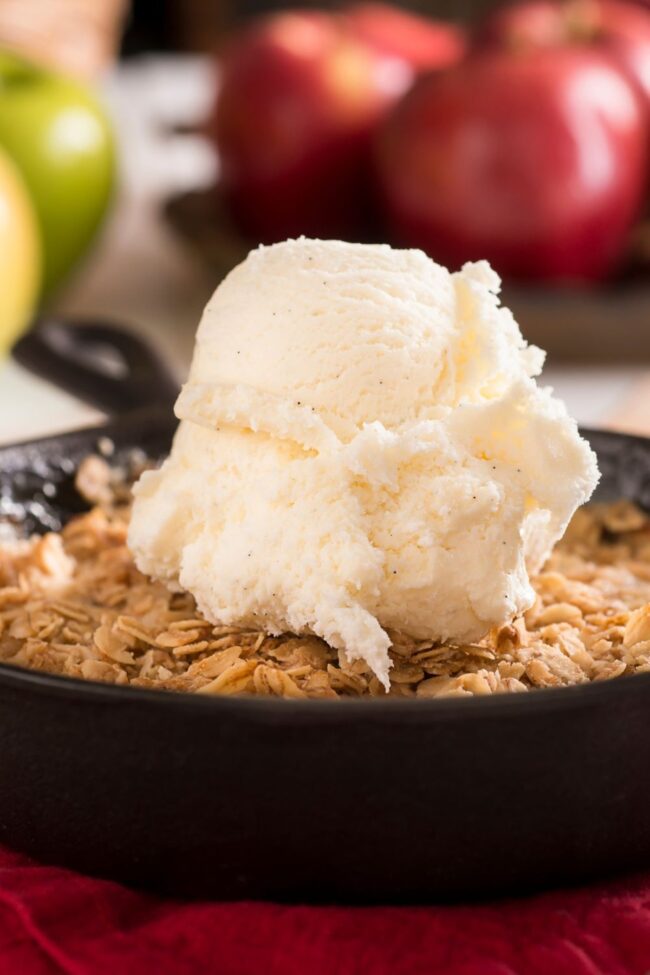
Step 7: Serve and Enjoy
Serve the apple crisp hot or at room temperature. For an extra indulgent treat, top with a scoop of vanilla ice cream or a dollop of frozen custard. Enjoy the comforting, rustic dessert that celebrates the sweet simplicity of baked apples.
Handy Tips for Making the Best Apple Crisp

How to Store Your Apple Crisp for Later
Preserve Freshness: Quickly transfer the apple crisp to an airtight glass container with a tight-sealing lid. Glass prevents moisture absorption and maintains the crisp’s delicate texture, keeping the topping crunchy and fruit filling vibrant for maximum flavor preservation.
Freeze Like a Pro: Divide the apple crisp into individual portions before freezing. Wrap each serving tightly in freezer-safe plastic wrap, then nestle them inside a heavy-duty freezer bag. This method prevents freezer burn and allows easy reheating of single servings without thawing the entire dessert.
Room Temperature Strategy: Keep the apple crisp at room temperature for no more than two hours after baking. Place the dish in a cool, dry space away from direct sunlight or heat sources. Cover loosely with a clean kitchen towel to maintain its appetizing appearance and prevent dust accumulation while allowing slight air circulation.
Fun Ways to Change Up Your Apple Crisp Recipe
A Sweet Finish to the Apple Crisp Experience
Pioneer Woman’s Apple Crisp embodies rustic American comfort, weaving together simple ingredients into a nostalgic dessert masterpiece.
Homemade warmth radiates from each carefully layered slice, promising a sensory journey through orchard-fresh flavors.
Classic spices dance with buttery oat crumbles, creating a harmonious balance between tender apples and crisp topping.
Midwestern hospitality shines through this recipe’s straightforward preparation and heartwarming presentation.
Generations of family memories simmer within its golden-brown surface, inviting shared moments around the table.
Culinary magic happens when passion meets tradition – this apple crisp proves that sometimes, simplicity creates the most memorable experiences.
Share this recipe with friends, comment below about your baking adventure, and spread deliciousness across your social networks!
Print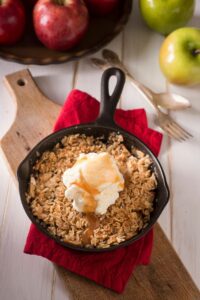
Pioneer Woman Apple Crisp Recipe
- Total Time: 1 hour
- Yield: 8 1x
Description
Comforting Pioneer Woman Apple Crisp delivers pure autumn magic with golden-brown oat topping and tender cinnamon-spiced apples. Warm kitchen memories flood back as sweet aromas fill the space, inviting you to savor this classic dessert that speaks directly to the heart.
Ingredients
Main Ingredients:
- 8 medium Granny Smith apples, peeled, cored, and thinly sliced
- 1 cup all-purpose flour
- 1 cup quick-cooking oats
Fruit and Base
Sweeteners and Sugars:
- 1 cup granulated sugar
- 1 cup packed brown sugar
Measurements and Spices:
- ½ teaspoon ground cinnamon
- ¼ teaspoon kosher salt
- ¼ teaspoon baking powder
- ¼ teaspoon baking soda
- 1 heaping tablespoon all-purpose flour
- Pinch of kosher salt
Additional Components:
- 1 stick (8 tablespoons / 113 grams) salted butter, melted
- Salted butter, enough to grease the baking dish
- Ice cream or frozen custard, for serving (optional)
Instructions
- Ignite the oven to a toasty 350 degrees Fahrenheit (175 degrees Celsius) and lovingly coat a 9×13-inch (23×33 centimeters) glass baking vessel with a generous layer of butter.
- Artfully cascade apple slices across the buttered surface, ensuring an even, elegant arrangement.
- In a separate mixing bowl, harmonize granulated sugar, 1 tablespoon all-purpose flour, aromatic ground cinnamon, and 1/4 teaspoon kosher salt. Delicately dust this fragrant mixture over the apple landscape, then tenderly drench with 1/2 cup (120 milliliters) of water.
- Craft the crisp topping by blending 1 cup (125 grams) all-purpose flour, hearty oats, rich brown sugar, leavening agents, and a whisper of salt. Introduce melted butter in a gradual stream, stirring until the mixture transforms into a cohesive, crumbly texture.
- Gently blanket the apple foundation with the oat mixture, ensuring complete and uniform coverage.
- Slide the baking dish into the preheated oven, allowing it to transform for approximately 43 minutes. Watch for a golden-brown, crisp topping that signals culinary perfection.
- Serve this comforting creation warm or at room temperature, optionally accompanied by a scoop of velvety ice cream or luxurious frozen custard for an ultimate sensory experience.
Notes
- Serves approximately 8-10 people, providing plenty of servings for a delightful group dessert experience.
- Nutritious treat offering a lighter sweet indulgence with whole grain oats and fresh fruit components.
- Gluten-free adaptable by swapping traditional flour with alternative options like almond or coconut flour.
- Stores wonderfully in the refrigerator for 3-4 days, ensuring delectable leftovers remain fresh and tasty.
- Can be prepped in advance and easily reheated, making it perfect for stress-free entertaining and meal planning.
- Requires minimal baking expertise, welcoming both kitchen novices and seasoned bakers to create a delicious dessert.
- Prep Time: 15 minutes
- Cook Time: 45 minutes
- Category: Desserts, Snacks
- Method: Baking
- Cuisine: American
Nutrition
- Serving Size: 8
- Calories: 300 kcal
- Sugar: 22 g
- Sodium: 150 mg
- Fat: 12 g
- Saturated Fat: 7 g
- Unsaturated Fat: 4 g
- Trans Fat: 0 g
- Carbohydrates: 45 g
- Fiber: 3 g
- Protein: 2 g
- Cholesterol: 30 mg
Ethan Miller
Founder & Lead Content Writer
Expertise
Education
Portland Community College
Culinary Institute of the Pacific
Ethan’s culinary journey began in his grandmother’s kitchen, where he first learned to play with flavors and ingredients. With formal training in culinary arts and a deep love for international cuisines, Ethan’s goal is to share the joy of cooking with others.
He believes food is all about creativity and bringing people together, one meal at a time. When he’s not experimenting with new dishes, he enjoys hiking in the Oregon wilderness and discovering fresh, local ingredients.