Enchanting Mint Magic Bars Recipe: Sweet & Dreamy Treats
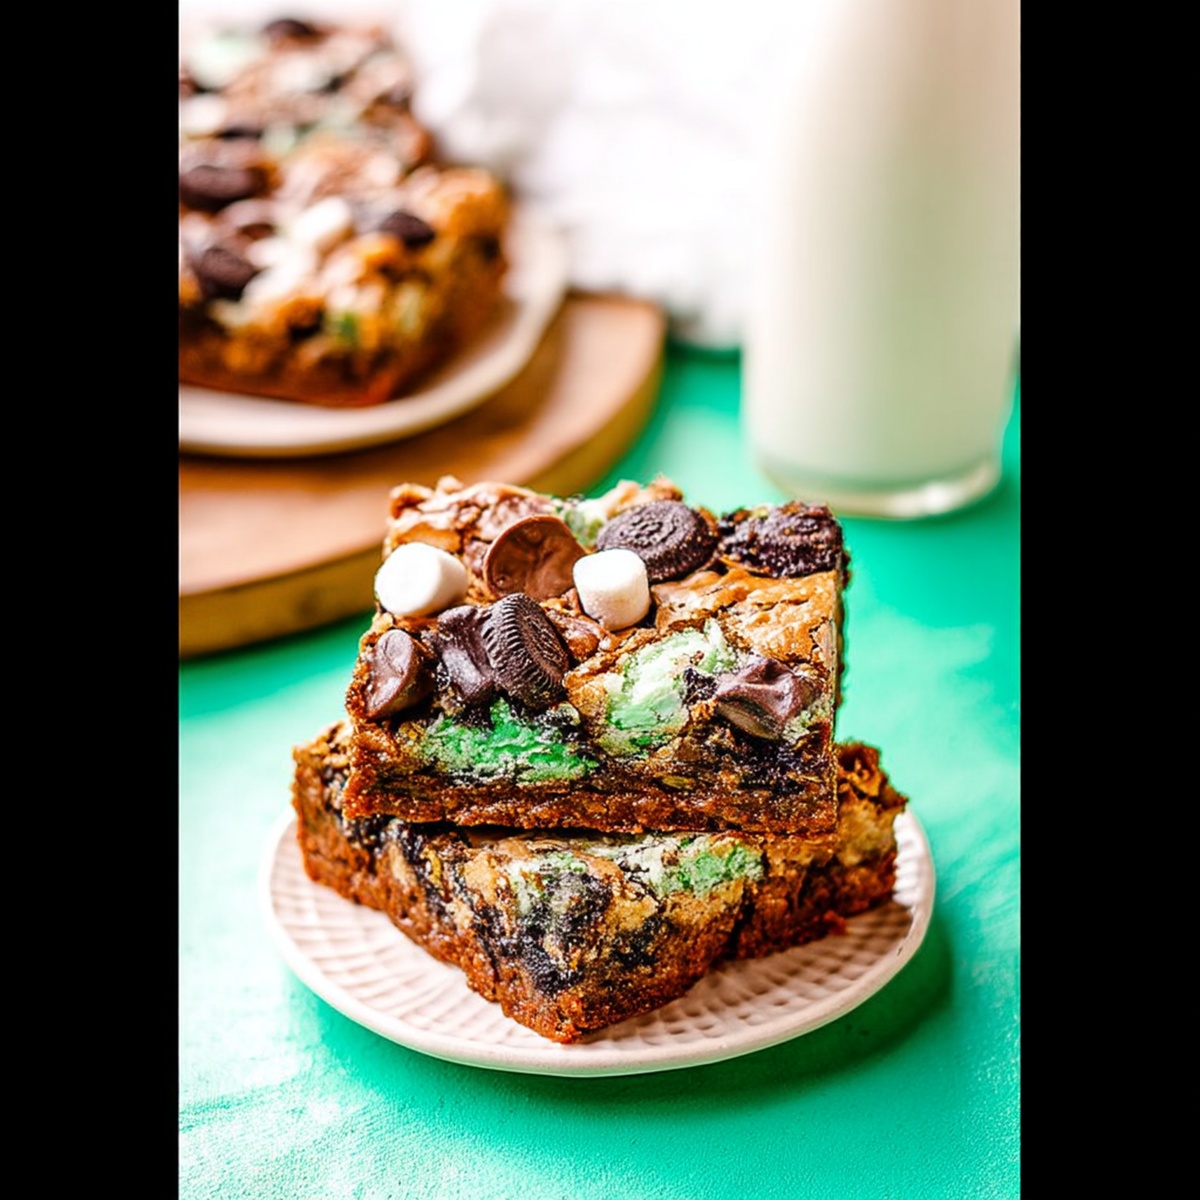
Sweet dreams start with these decadent mint magic bars that blend chocolatey richness with cool, refreshing flavors.
Layers of graham cracker crust create a crispy foundation for creamy delights.
Chocolate chips melt into gooey pockets of pure bliss.
Condensed milk adds silky smoothness that binds everything together perfectly.
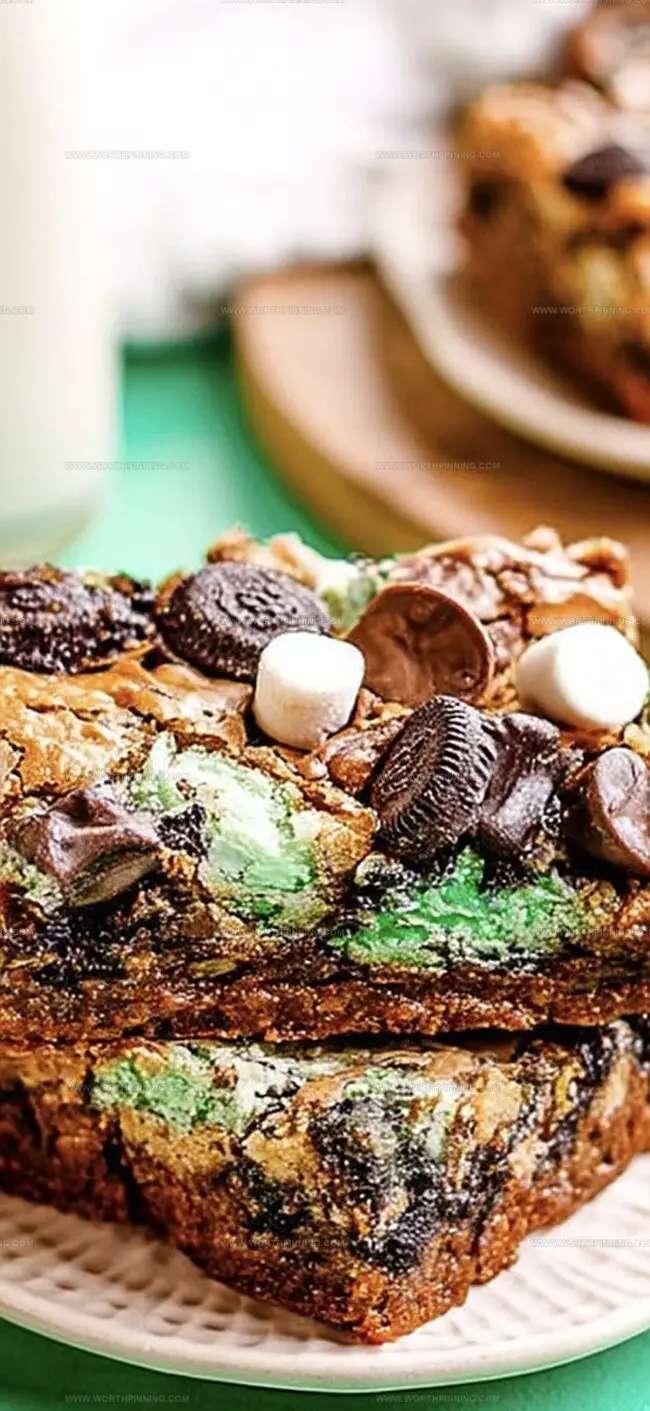
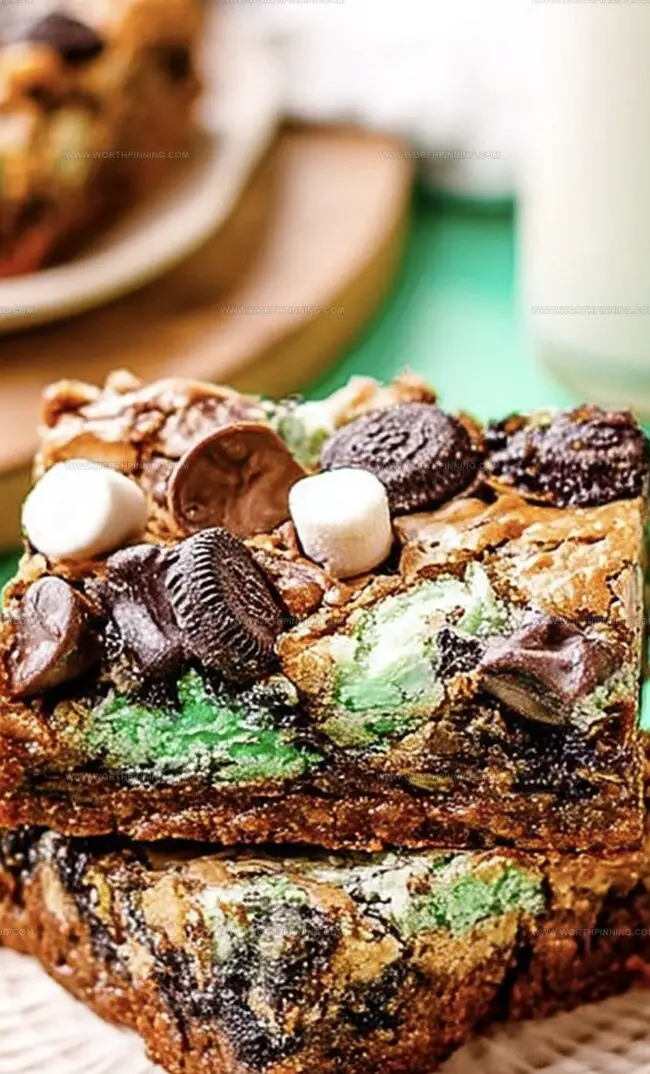
Mint chocolate pieces bring unexpected bursts of cool intensity to each bite.
Shredded coconut sprinkled across the top provides delightful texture and crunch.
You’ll want to savor every single morsel of this irresistible dessert creation.
These bars will make you the star of any gathering.
Mint Magic Bars That Cool and Satisfy
Ingredient List for Mint Magic Bars
Crust Ingredients:Layering Ingredients:Binding Ingredients:Bake Mint Magic Bars in a Few Steps
Step 1: Prepare The Baking Station
Warm up the oven to 350F (175C). Line a 9×13-inch baking pan with parchment paper or coat with a light butter spray.
Step 2: Create The Crunchy Crust
Grab ingredients:Mix cookie crumbs and melted butter until fully blended. Press the mixture firmly into the pan’s bottom, creating an even foundation.
Step 3: Build Flavor Layers
Sprinkle across the crust in order:Step 4: Craft The Creamy Drizzle
Mix in a small bowl:Stir until everything combines smoothly.
Step 5: Pour And Spread
Gently pour the creamy mixture over the layered ingredients, ensuring even coverage across the entire pan.
Step 6: Bake To Perfection
Slide the pan into the preheated oven. Bake for 25-30 minutes until edges turn golden and the top sets firmly.
Step 7: Cool And Slice
Remove from oven and let the bars cool completely inside the pan. Once cooled, slice into delectable squares and serve.
Tips to Keep Mint Magic Bars Firm and Flavorful
Store Mint Magic Bars Without Losing Texture
Mint Magic Bars and What Goes Well With Them
Flavor Switches for Mint Magic Bars
Mint Magic Bars FAQs Made Simple
Mint chips add a distinctive mint flavor and green color, but you can substitute with regular chocolate chips if unavailable.
Absolutely! Nuts are optional and can be easily omitted without affecting the overall recipe structure or texture.
Look for golden edges and a set top. The bars should appear slightly firm but not dry or overcooked.
No, green food coloring is completely optional. It only enhances the visual appeal of the mint bars and doesn’t impact taste.
Print
Mint Magic Bars Recipe
- Total Time: 40 minutes
- Yield: 12 1x
Description
Sweet craving meets ultimate indulgence with mint magic bars, combining rich chocolate and cool mint in a heavenly dessert. Creamy layers of graham cracker crust, chocolate chips, and condensed milk create a sinful treat you cannot resist.
Ingredients
Main Ingredients:
- 1 ½ cups graham cracker crumbs
- ½ cup unsalted butter, melted
- 1 (14-ounce) can sweetened condensed milk
- 2 cups semi-sweet chocolate chips
Mint Flavoring:
- 1 teaspoon peppermint extract
- ½ teaspoon vanilla extract
Topping Ingredients:
- 1 cup Andes mint baking chips
- ½ cup shredded coconut
- ¼ cup chopped pecans
Instructions
- Prepare the baking vessel by setting the oven temperature to 350F (175C). Create a non-stick surface by lining a 9×13-inch pan with parchment paper or applying a light grease coating.
- Pulverize chocolate cookies into fine crumbs and blend thoroughly with melted butter until the mixture achieves a consistent texture. Compress the mixture firmly and evenly across the pan’s bottom, establishing a solid foundational crust.
- Distribute chocolate chips, mint chips, coconut flakes, and optional nuts in uniform layers directly atop the prepared crust, ensuring complete and balanced coverage.
- Combine sweetened condensed milk with peppermint extract in a separate container. Optional: Introduce a subtle hint of green by adding a minimal amount of food coloring to create visual appeal.
- Delicately pour the milk mixture across the layered ingredients, guaranteeing an even and comprehensive distribution that reaches all corners of the pan.
- Transfer the pan to the preheated oven and bake for approximately 25-30 minutes. Monitor until the edges transform into a golden hue and the surface appears completely set.
- Remove from oven and allow the dessert to cool entirely within the pan. Once temperature normalized, slice into precise rectangular bars for serving.
Notes
- Use gluten-free chocolate cookie crumbs if you need a celiac-friendly version of these bars.
- Swap regular chocolate chips with dairy-free alternatives for a vegan-friendly dessert that everyone can enjoy.
- Chill the bars in the refrigerator for at least an hour to get cleaner, more precise cutting lines when slicing.
- Experiment with different extracts like almond or vanilla if mint isn’t your favorite flavor profile, creating endless variation possibilities.
- Prep Time: 10 minutes
- Cook Time: 30 minutes
- Category: Desserts, Snacks
- Method: Baking
- Cuisine: American
Nutrition
- Serving Size: 12
- Calories: 450
- Sugar: 6 g
- Sodium: 800 mg
- Fat: 30 g
- Saturated Fat: 20 g
- Unsaturated Fat: 8 g
- Trans Fat: 0 g
- Carbohydrates: 20 g
- Fiber: 2 g
- Protein: 28 g
- Cholesterol: 90 mg
Ethan Miller
Founder & Lead Content Writer
Expertise
Education
Portland Community College
Culinary Institute of the Pacific
Ethan’s culinary journey began in his grandmother’s kitchen, where he first learned to play with flavors and ingredients. With formal training in culinary arts and a deep love for international cuisines, Ethan’s goal is to share the joy of cooking with others.
He believes food is all about creativity and bringing people together, one meal at a time. When he’s not experimenting with new dishes, he enjoys hiking in the Oregon wilderness and discovering fresh, local ingredients.