Easy Irish Soda Bread Recipe: The Perfect Homemade Delight
Irish soda bread represents a culinary marvel that bridges rustic tradition with simple kitchen magic.
Generations of home cooks have transformed basic ingredients into something spectacular through clever chemistry and cultural wisdom.
The bread’s signature quick-rising technique transforms ordinary pantry staples into a warm, crusty delight without requiring complex kneading or proofing processes.
Dense and hearty, this classic recipe celebrates Ireland’s resourceful agricultural heritage and resourcefulness in creating nourishing meals.
Families have passed down techniques that turn humble components into a comforting staple that speaks volumes about community and connection.
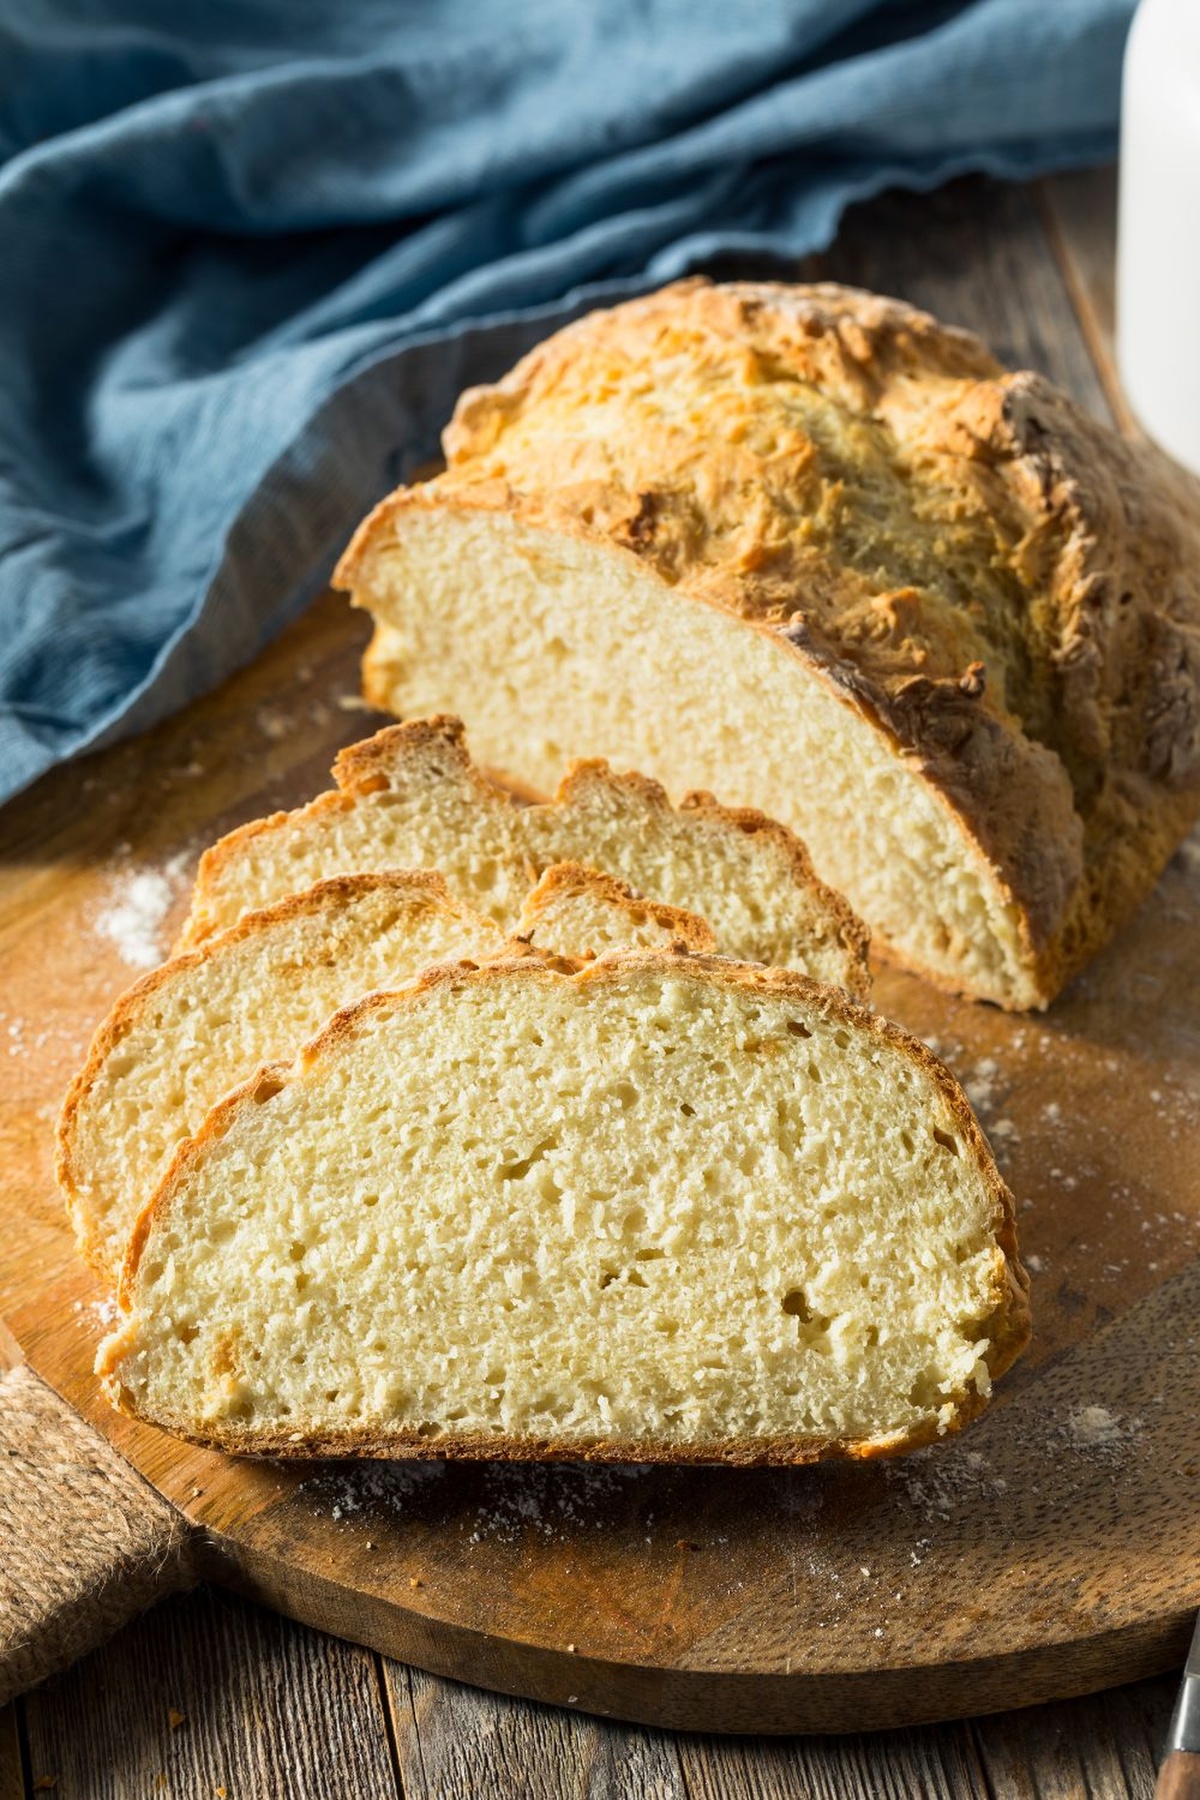
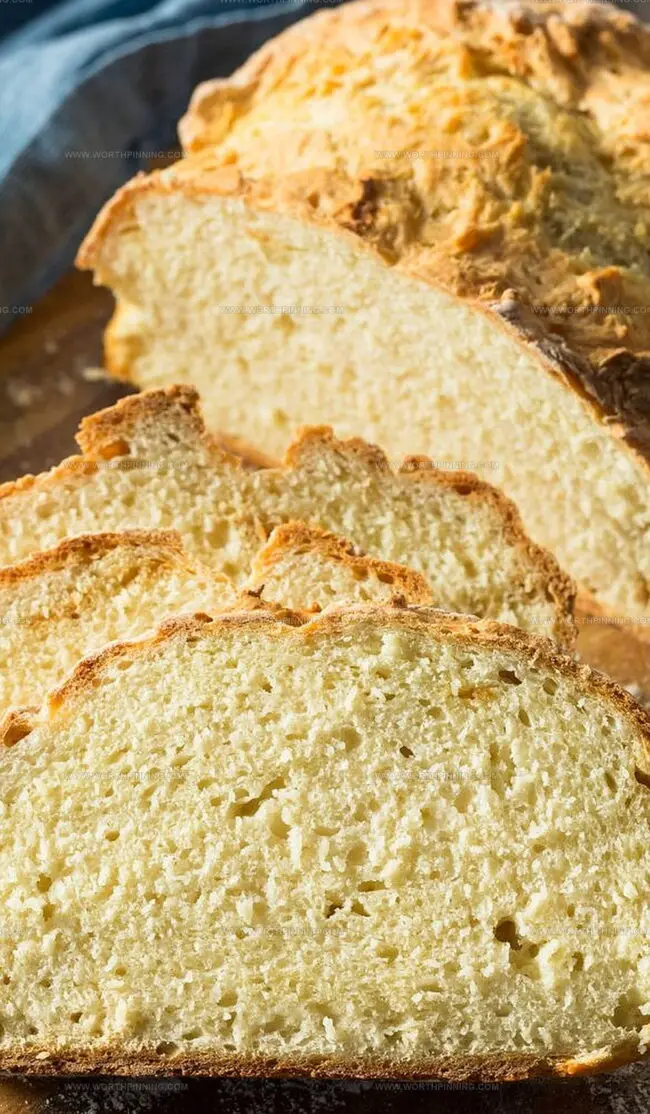
Soft interiors contrast beautifully with crisp outer crusts, creating a sensory experience that connects you to generations of bakers.
Each slice carries whispers of farmhouse kitchens and rural landscapes where necessity sparked culinary innovation: prepare to be delighted.
What Makes Irish Soda Bread Special
What’s In Irish Soda Bread
Dry Ingredients:Wet Ingredients:Finishing Ingredients:Kitchen Tools:Step-by-Step Irish Soda Bread Recipe
Step 1: Prepare the Oven
Adjust the oven rack to the center position. Preheat the oven to 400°F (200°C). Line a baking sheet with parchment paper.
Step 2: Mix Dry Ingredients
In a large mixing bowl, combine the following ingredients:Step 3: Create the Dough
Create a well in the center of the dry ingredients. Pour in 1 buttermilk. Gently mix by hand or with a wooden spoon until a soft, slightly sticky dough forms. Add extra buttermilk if the dough seems too dry.
Step 4: Shape the Bread
Lightly flour a work surface. Knead the dough gently 4-5 times. Shape into a 7-inch (18 cm) round circle.
Step 5: Prepare for Baking
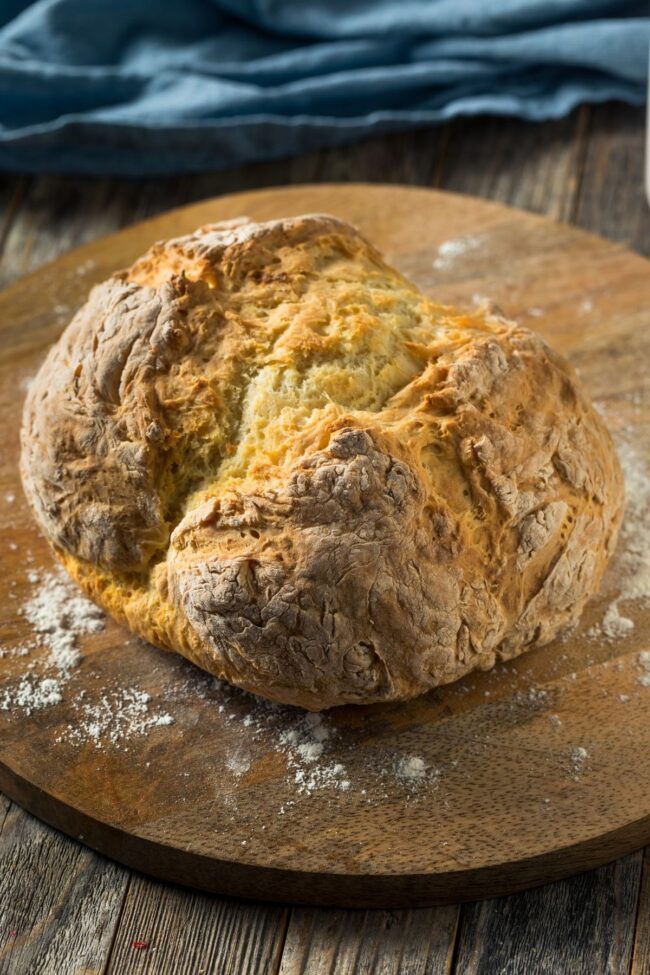
Transfer the dough to the prepared baking sheet. Using a sharp knife, cut a deep “X” across the top, about 1/4 inch (0.6 cm) deep. For a golden crust, brush the top with:Step 6: Bake to Perfection
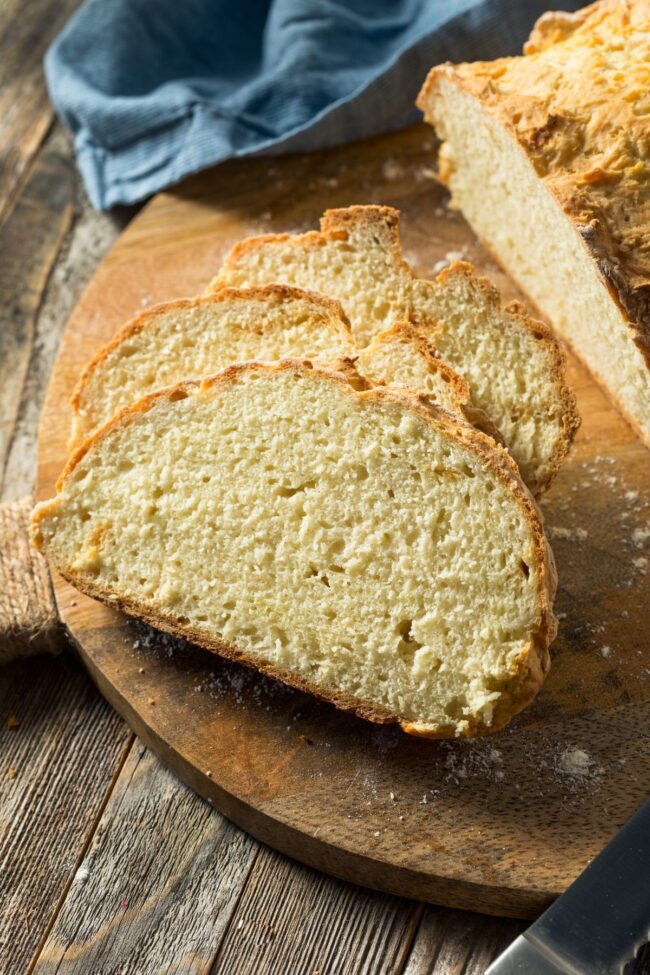
Place in the preheated oven. Bake for 30-35 minutes. Check doneness by:Step 7: Cool and Serve
Remove from the oven. Let cool for 10 minutes on a wire rack. Slice and serve warm with butter and jam for a delightful treat.
Expert Advice on Irish Soda Bread
Helpful Tips for Irish Soda BreadStorage
Twists on Irish Soda Bread
Wrapping Up Irish Soda Bread
Culinary heritage whispers through Irish soda bread’s rustic charm, connecting generations with simple ingredients and traditional techniques.
Warm aromas fill kitchens, invoking memories of Irish countryside traditions.
Homemade comfort emerges from each carefully crafted loaf, bridging past and present.
Bakers worldwide can celebrate this classic recipe’s versatility and cultural significance.
Bread becomes more than sustenance; it transforms into a narrative of community and connection.
Passionate cooks, share this delightful recipe, spark conversations in comment sections, spread joy through social media, and invite fellow bread enthusiasts to explore Ireland’s delicious legacy.
Print
Joy Of Cooking Irish Soda Bread Recipe
- Total Time: 40 minutes
- Yield: 8 1x
Description
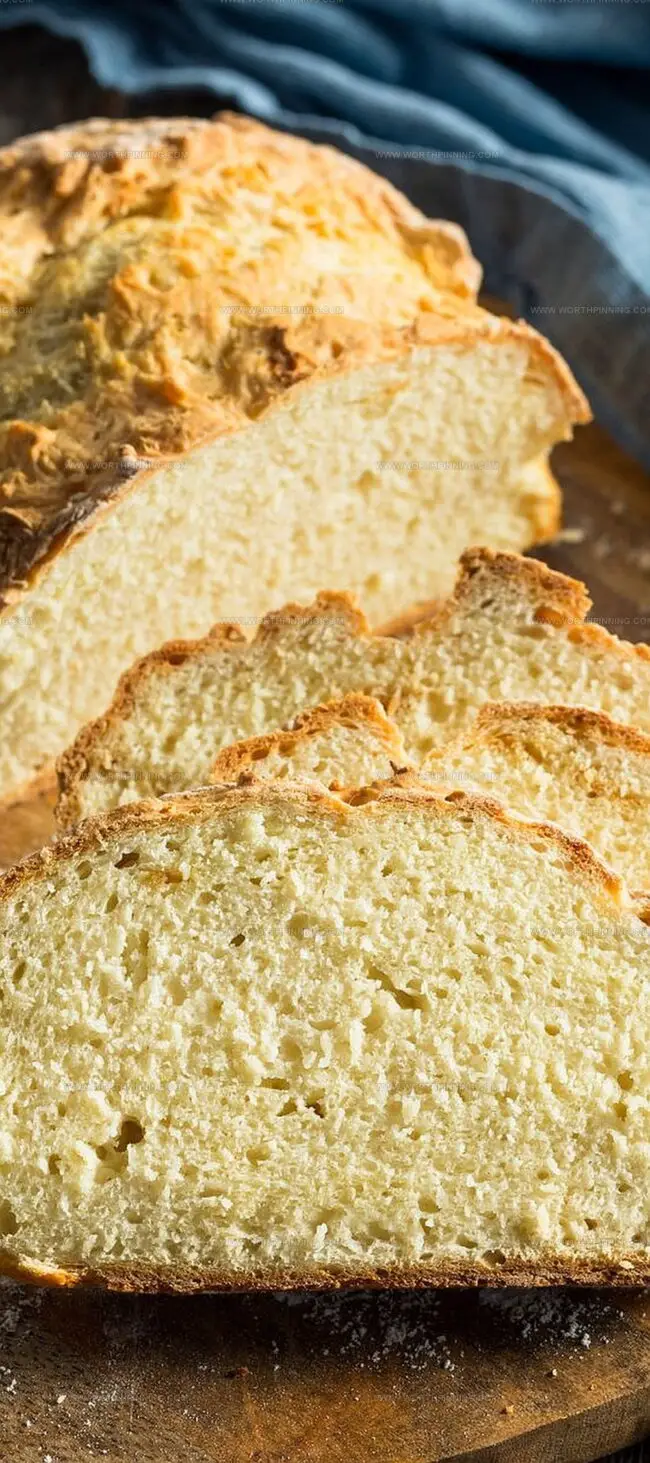
Irish soda bread emerges as a rustic delight from Ireland’s hearty culinary landscape. Simple ingredients come together with minimal effort, creating a crusty exterior and tender crumb that connects you to traditional Irish kitchens.
Ingredients
Primary Ingredients:
- 1 ½ cups (195 grams) all-purpose flour
- 1 ½ cups (195 grams) whole wheat flour
- 1 ½ cups (360 milliliters) buttermilk
Leavening and Seasoning Ingredients:
- 1 teaspoon (4 grams) baking soda
- ¾ teaspoon (3 grams) salt
Optional Ingredients:
- 2 tablespoons (30 grams) granulated white sugar
- 2 tablespoons (15 grams) old-fashioned rolled oats
Instructions
- Position the oven rack centrally and preheat to 400 degrees Fahrenheit (200 degrees Celsius). Line a baking sheet with parchment paper for optimal non-stick preparation.
- In a spacious mixing vessel, thoroughly combine flour, granulated sugar, baking soda, salt, and rolled oats. Create a gentle well in the center of the dry ingredients and pour in buttermilk.
- Gently integrate the ingredients using a wooden spoon or spatula until a cohesive, slightly tacky dough emerges. If the mixture appears dry, incrementally add more buttermilk to achieve the desired consistency.
- Transfer the dough onto a lightly dusted work surface and softly knead. Shape the mixture into a rounded disc approximately 7 inches (18 centimeters) in diameter.
- Using a sharp culinary knife or precision kitchen scissors, delicately score a pronounced cross-shaped incision across the dough’s surface, approximately 1/4 inch (0.6 centimeters) deep. For enhanced visual appeal and flavor, tenderly brush the surface with a light coating of milk or heavy cream.
- Place the prepared loaf in the preheated oven and bake for approximately 30 minutes. Assess doneness by inserting a clean toothpick into the center – it should emerge without residual batter. Alternatively, gently tap the bottom of the bread; a resonant hollow sound indicates complete baking.
- Remove from the oven and allow to cool momentarily. Serve warm, accompanied by a generous spread of creamy butter and fruity preserves for a delightful gastronomic experience.
Notes
- Cutting into wedges prevents sticking and helps create those classic rustic edges.
- Traditional Irish bakers often used a wooden board or stone surface for mixing ingredients.
- Kitchen temperature affects dough development, so work quickly and confidently.
- Buttermilk’s acidity reacts with baking soda, creating those signature soft, airy pockets.
- Salt enhances flavor complexity and balances the bread’s natural earthiness.
- Leftovers stay fresh for 2-3 days when wrapped tightly in a clean kitchen towel.
- Serve warm with salted butter for the most authentic Irish breakfast experience.
- Glass or ceramic baking dishes distribute heat more evenly than metal pans.
- Room temperature ingredients blend more smoothly and create consistent texture.
- Storing bread in a paper bag maintains crustiness better than plastic containers.
- Prep Time: 10 minutes
- Cook Time: 30 minutes
- Category: Breakfast, Snacks, Dinner
- Method: Baking
- Cuisine: American
Nutrition
- Serving Size: 8
- Calories: 150 kcal
- Sugar: 2.5 g
- Sodium: 184 mg
- Fat: 2 g
- Saturated Fat: 0.5 g
- Unsaturated Fat: 1 g
- Trans Fat: 0 g
- Carbohydrates: 28 g
- Fiber: 1 g
- Protein: 4 g
- Cholesterol: 0 mg
Ethan Miller
Founder & Lead Content Writer
Expertise
Education
Portland Community College
Culinary Institute of the Pacific
Ethan’s culinary journey began in his grandmother’s kitchen, where he first learned to play with flavors and ingredients. With formal training in culinary arts and a deep love for international cuisines, Ethan’s goal is to share the joy of cooking with others.
He believes food is all about creativity and bringing people together, one meal at a time. When he’s not experimenting with new dishes, he enjoys hiking in the Oregon wilderness and discovering fresh, local ingredients.