Jamie Oliver’s Quick & Easy Bread Rolls Recipe Everyone Loves
Jamie Oliver’s bread rolls spark culinary magic in kitchens everywhere, transforming simple ingredients into warm, comforting delights.
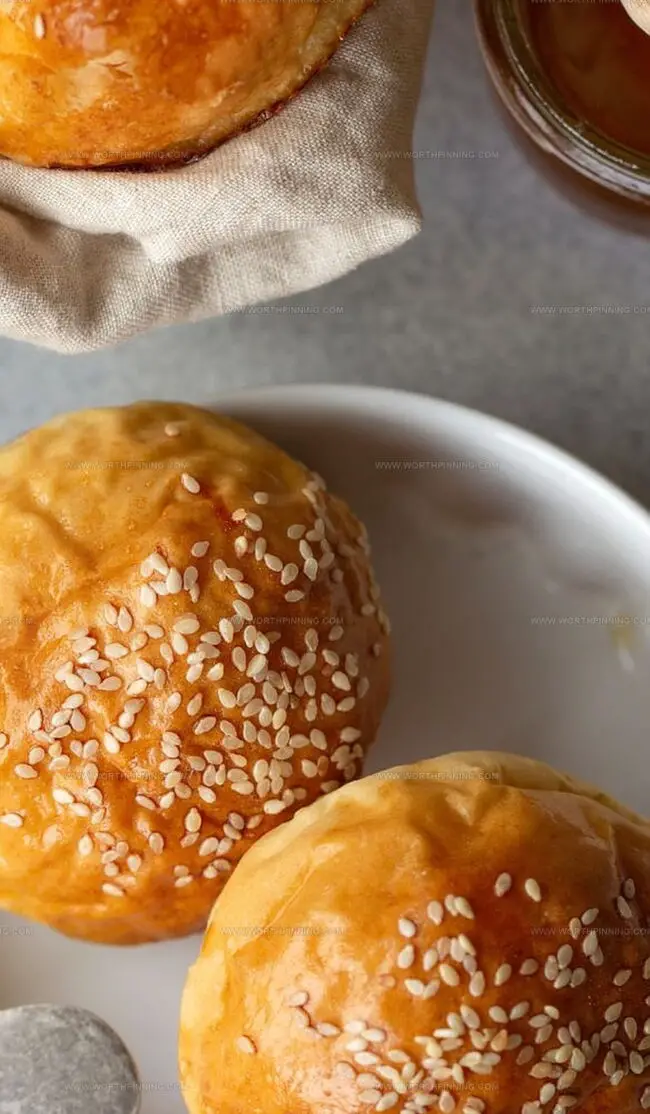
Soft and pillowy, these rolls represent a baker’s canvas waiting to be painted with flavor and passion.
Home cooks can craft these delectable rounds using basic pantry staples that promise exceptional results.
Professional techniques merge with rustic charm, creating a sensory experience that goes beyond typical bread preparation.
Kneading becomes a rhythmic dance of flour, yeast, and personal creativity, inviting spontaneous kitchen adventures.
Each roll carries the potential for memorable meals, connecting family and friends through shared comfort.
The aroma of freshly baked bread promises a journey of culinary satisfaction: get ready to bake!
Why Jamie Oliver’s Bread Rolls Warm the Heart
Essential Ingredients for Perfect Bread Rolls
Main Ingredients:Liquid and Moisture Ingredients:Seasoning and Flavor Enhancers:How to Bake Jamie Oliver’s Bread Rolls
Step 1: Activate Yeast
Mix warm water (110°F), 2 active dry yeast, and sugar in a bowl. Let sit for 5 minutes until foamy.
Step 2: Prepare Mixing Surface
Select a large mixing bowl or stand mixer with a dough hook attachment. Have all ingredients ready on your workspace.
Step 3: Combine Wet Ingredients
Add the following ingredients to the activated yeast mixture:Step 4: Incorporate Flour
Gradually mix in 3 all-purpose flour, stirring until a soft dough forms. Knead for 3-5 minutes until smooth and slightly tacky.
Step 5: First Rise
Transfer dough to a lightly oiled bowl. Cover with a clean kitchen towel. Let rise in a warm spot for 1-2 hours until doubled in size.
Step 6: Shape Rolls
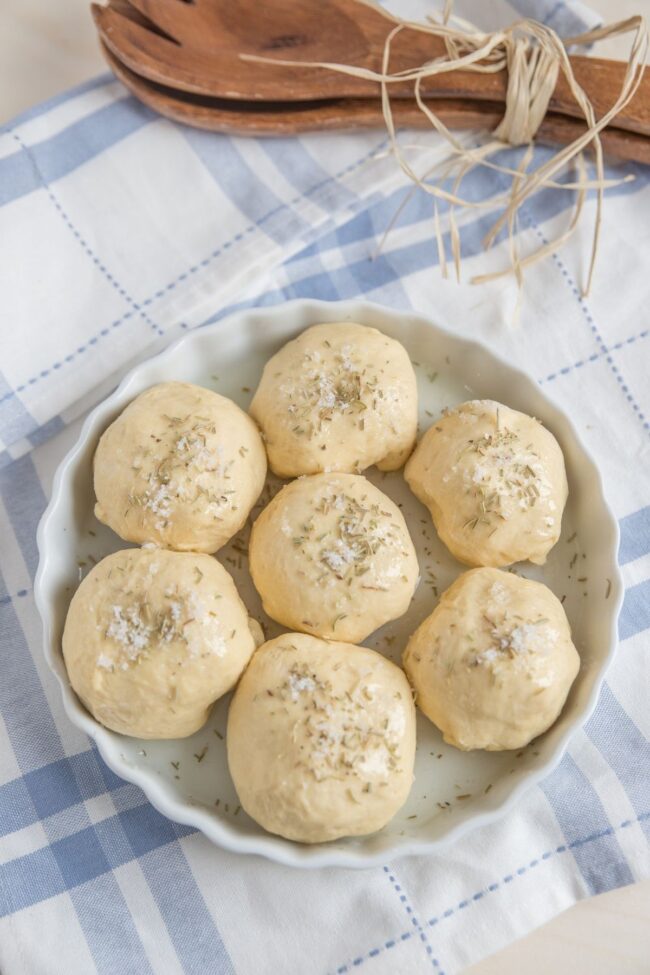
Punch down dough and divide into 14-16 equal portions. Roll each piece into a smooth ball and place on a greased baking sheet.
Step 7: Second Rise
Cover rolls with a clean kitchen towel. Let rise for 45-60 minutes until puffy and almost doubled.
Step 8: Prepare for Baking
Preheat oven to 375°F. Optional: Brush rolls with egg wash or melted butter for golden finish.
Step 9: Bake Rolls
Place baking sheet on lower oven rack. Bake for 20-25 minutes, rotating pan halfway through for even browning.
Step 10: Cool and Serve
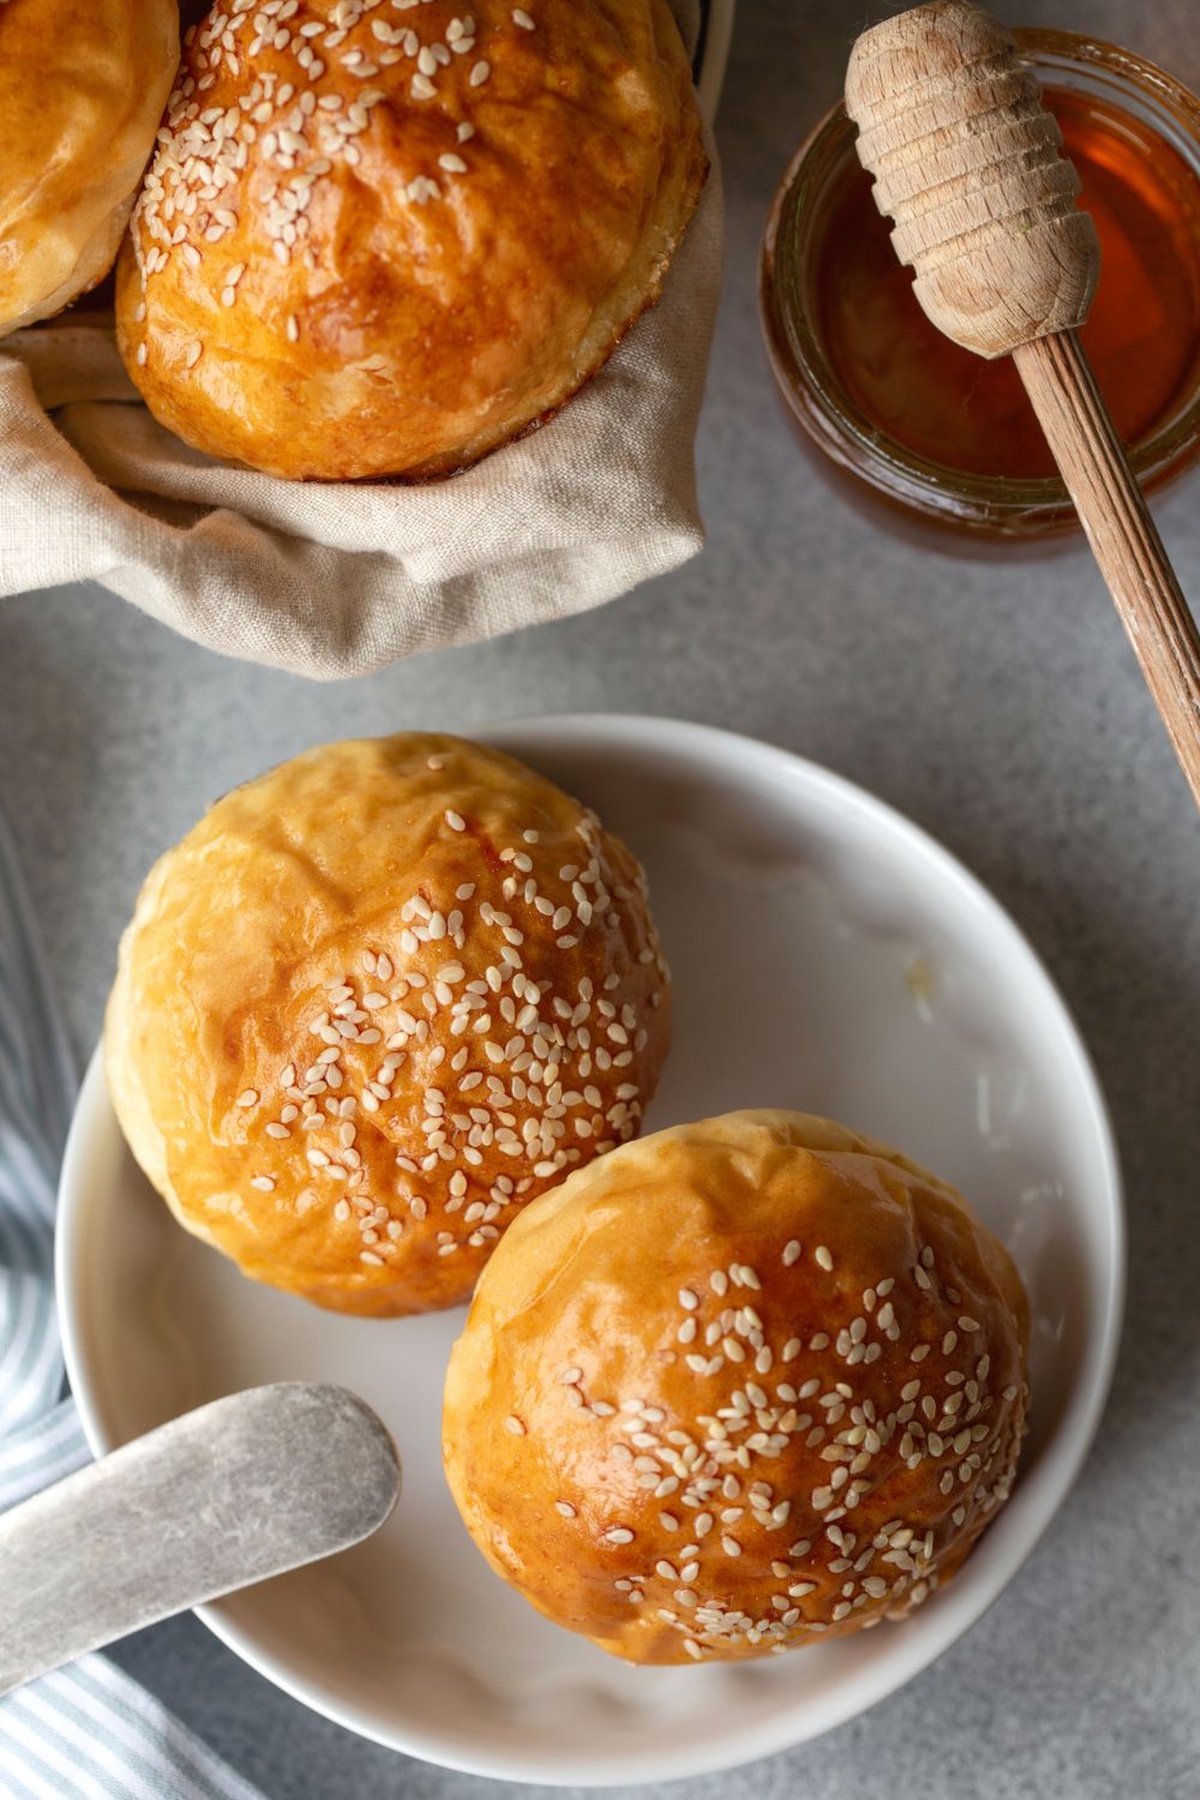
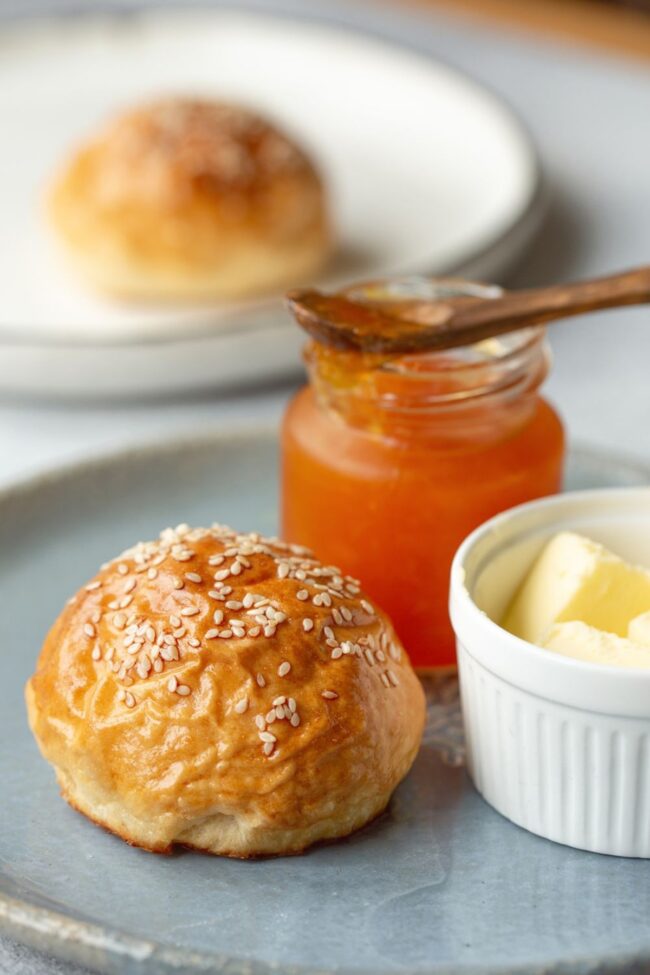
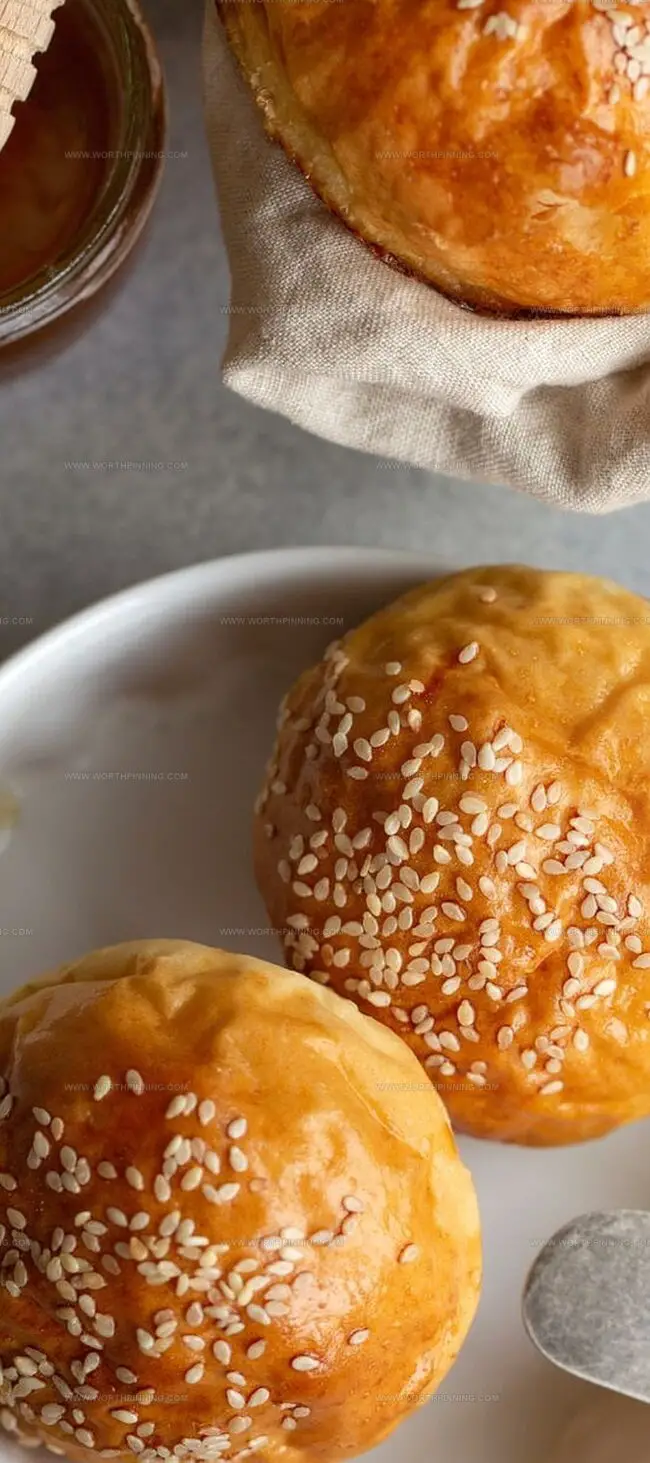
Remove rolls from oven. Transfer to a wire rack. Let cool for 10 minutes. Serve warm with butter or honey butter.
Tips for Fluffy and Golden Bread Rolls
Storing Bread Rolls for Daily Enjoyment
Innovative Variations for Bread Rolls
A Hearty Conclusion to Bread Rolls
Jamie Oliver’s bread rolls embody culinary artistry, transforming simple ingredients into a symphonic masterpiece.
Kitchen adventures become magical moments when passion meets precise technique.
Bread making connects generations through shared traditions and sensory experiences.
Warm, freshly baked rolls whisper stories of comfort and connection.
Complex techniques unfold with surprising simplicity in skilled hands.
Culinary journeys like these invite passionate cooks to explore, experiment, and celebrate homemade delights.
Your kitchen awaits this delectable performance – share your bread roll triumph, inspire fellow bakers with snapshots, and spread deliciousness through comments and likes!
Print
Jamie Oliver Bread Rolls Recipe
- Total Time: 3 hours 22 minutes
- Yield: 12 1x
Description
Jamie Oliver’s bread rolls deliver rustic Italian countryside comfort right to your kitchen. Crusty exteriors and pillowy interiors promise a delightful sensory experience you’ll savor with every warm, aromatic bite.
Ingredients
Dry Ingredients:
- 3 cups (390 grams) all-purpose flour or bread flour
- 2 and ¼ teaspoons instant yeast (Red Star Platinum)
- 1 teaspoon salt
Wet Ingredients:
- 1 cup (240 milliliters) whole milk, warmed to 110°F (43°C)
- 1 large egg
- ¼ cup (56 grams) unsalted butter, softened to room temperature and cut into 4 pieces
Sweeteners and Toppings:
- 2 tablespoons granulated sugar
- Optional topping: 2 tablespoons (28 grams) melted unsalted butter
- Optional topping: 1 tablespoon honey
Instructions
- Dissolve active dry yeast in warm water (110°F/43°C) with a pinch of granulated sugar. Allow the mixture to bloom and become frothy for 5-7 minutes.
- In a spacious mixing vessel, combine the activated yeast mixture with remaining ingredients. Use a sturdy wooden spoon or electric mixer with dough attachments to integrate components thoroughly.
- Knead the dough for 6-8 minutes until a smooth, elastic texture develops. The consistency should be soft yet slightly tacky, not overly sticky or dry.
- Transfer the dough to a lightly oiled large bowl, ensuring complete surface coverage. Cover with a clean kitchen towel or plastic wrap.
- Place the dough in a warm, draft-free environment for approximately 60-90 minutes. The dough should double in volume, indicating successful fermentation.
- Gently deflate the risen dough by pressing down with fingertips. Divide the dough into 14-16 equal portions using a sharp knife or kitchen scale.
- Shape each portion into uniform round balls, creating smooth surfaces by tucking edges underneath. Arrange rolls in a greased 9×13 inch (23×33 centimeters) baking pan.
- Allow shaped rolls to undergo a second proofing, covered, for 45-60 minutes until they appear puffy and interconnected.
- Preheat the oven to 375°F (190°C). Position the baking rack in the lower third of the oven for even heat distribution.
- Bake the rolls for 20-25 minutes, rotating the pan midway to ensure consistent golden-brown coloration. The tops should appear uniformly bronzed and sound hollow when tapped.
- Remove from oven and brush immediately with melted butter. Let the rolls rest for 10-15 minutes before serving to allow structural settling.
Notes
- Ensure your yeast is fresh and active to guarantee perfect dough rise and texture.
- Knead the dough gently but thoroughly to develop gluten and create a smooth, elastic consistency.
- Wrap leftover rolls tightly in plastic wrap or store in an airtight container to maintain moisture.
- Allow rolls to cool completely before storing to prevent condensation and potential sogginess.
- Room temperature ingredients blend more evenly and create a more uniform dough structure.
- Proofing time varies depending on kitchen temperature and humidity, so watch for visual cues.
- Brush rolls with egg wash for a golden, glossy exterior that looks professionally baked.
- Freezing unbaked rolls allows you to prepare ahead and bake fresh when needed.
- Let dough rise in a warm, draft-free area to support optimal yeast activity.
- Experiment with different flour types to customize texture and flavor profile.
- Prep Time: 3 hours
- Cook Time: 22 minutes
- Category: Breakfast, Snacks, Dinner
- Method: Baking
- Cuisine: British
Nutrition
- Serving Size: 12
- Calories: 330 kcal
- Sugar: 4 g
- Sodium: 280 mg
- Fat: 15 g
- Saturated Fat: 9 g
- Unsaturated Fat: 5 g
- Trans Fat: 0 g
- Carbohydrates: 43 g
- Fiber: 1 g
- Protein: 8 g
- Cholesterol: 70 mg
Ethan Miller
Founder & Lead Content Writer
Expertise
Education
Portland Community College
Culinary Institute of the Pacific
Ethan’s culinary journey began in his grandmother’s kitchen, where he first learned to play with flavors and ingredients. With formal training in culinary arts and a deep love for international cuisines, Ethan’s goal is to share the joy of cooking with others.
He believes food is all about creativity and bringing people together, one meal at a time. When he’s not experimenting with new dishes, he enjoys hiking in the Oregon wilderness and discovering fresh, local ingredients.