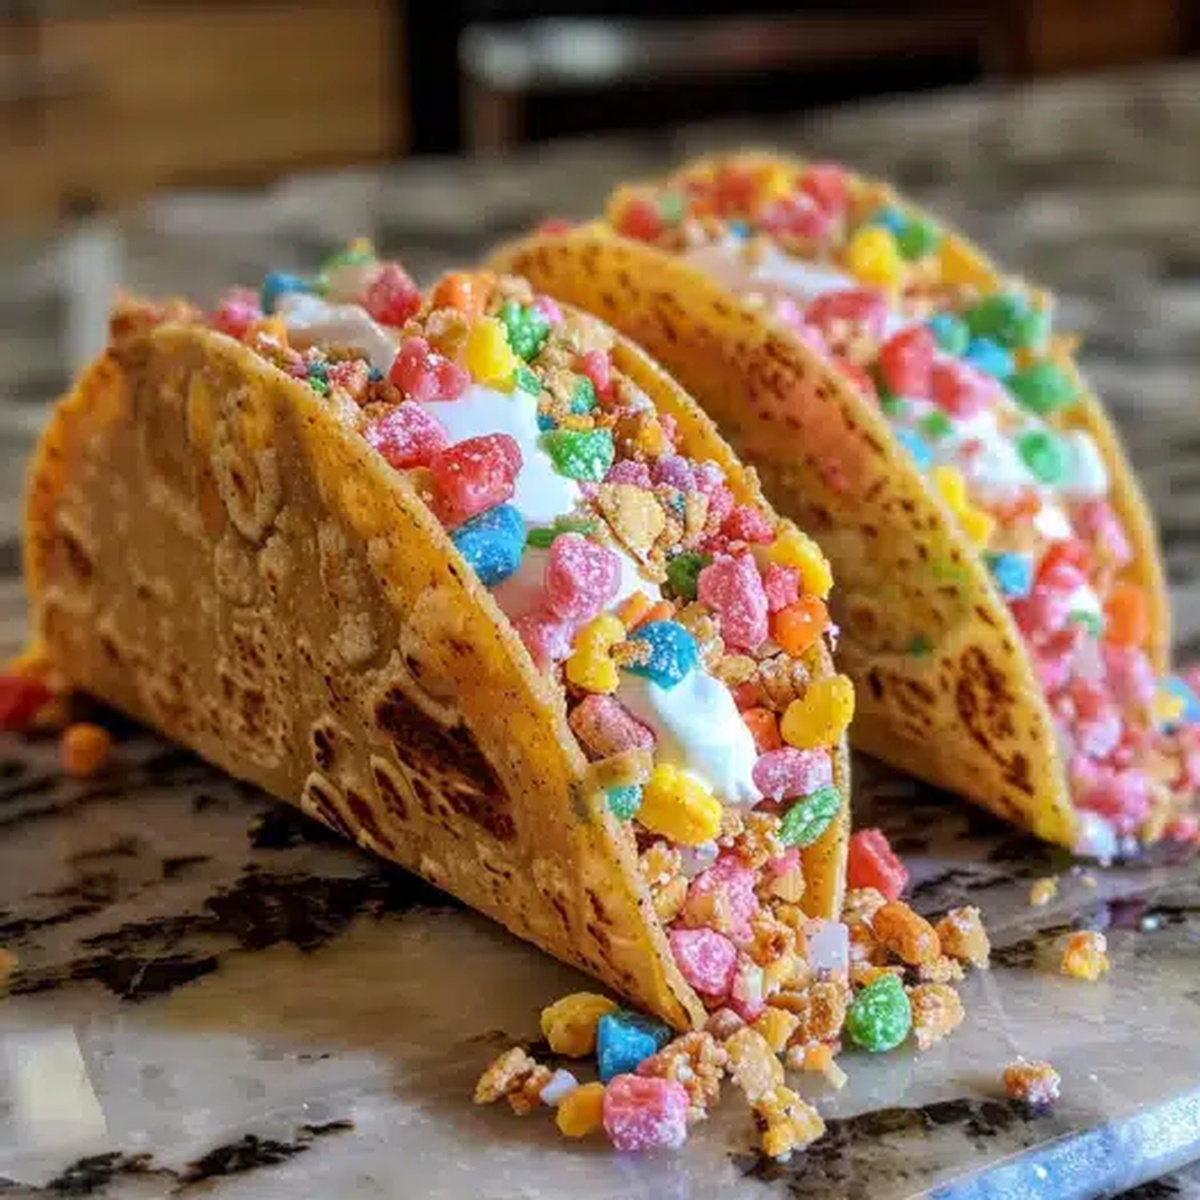
Fluffy Fruity Pebbles Cheesecake Tacos Recipe – Sweet Handheld Joy
Sweet memories swirl around this delightful fruity pebbles cheesecake tacos creation that blends childhood nostalgia with grown-up dessert creativity.
Colorful cereal adds unexpected crunch to a classic treat.
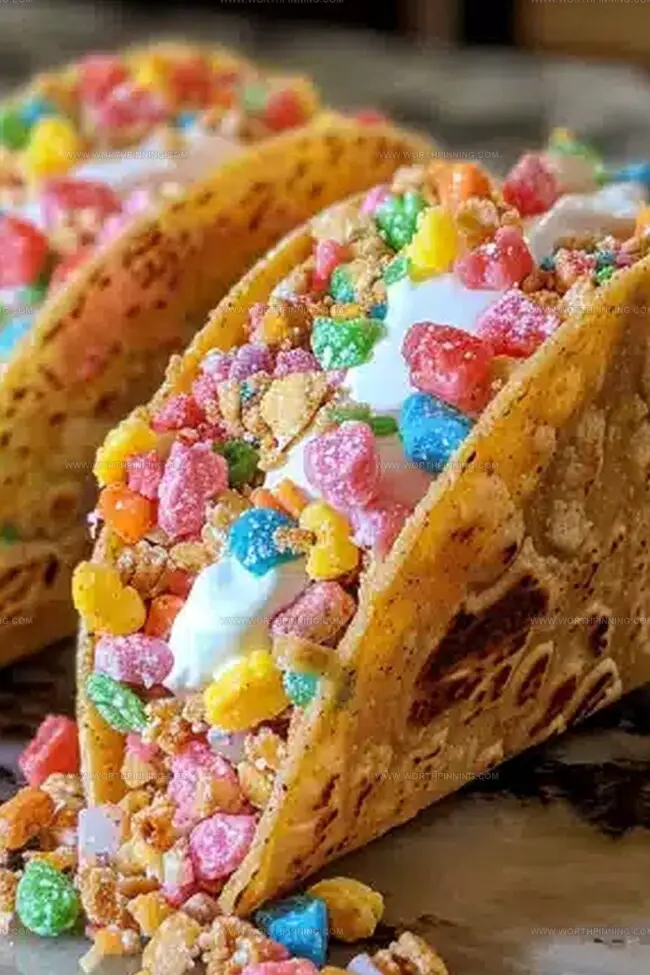
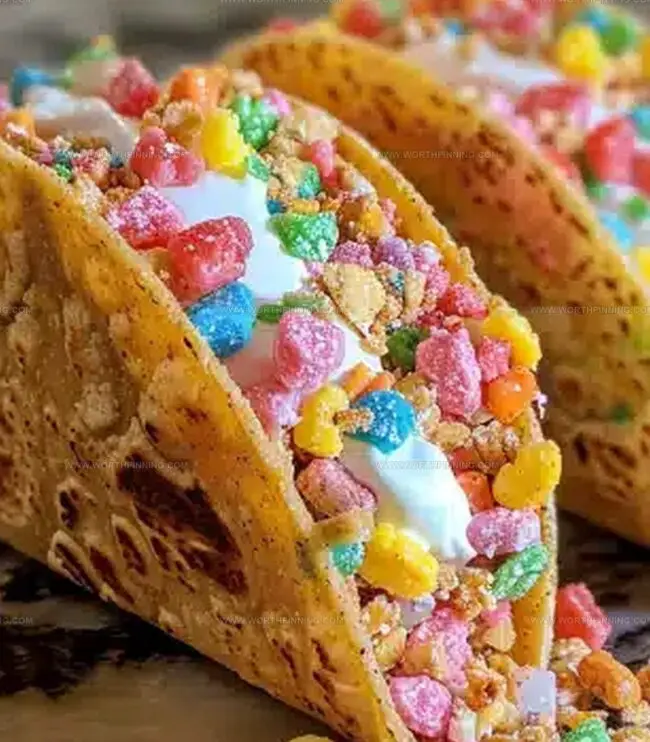
Crispy shells cradle smooth cream cheese filling, promising pure indulgence.
Surprising combinations make people lean in with curiosity and excitement.
Playful textures dance between creamy and crunchy elements in each bite.
Dessert enthusiasts appreciate innovative twists that challenge traditional expectations.
You can craft these whimsical tacos in minutes, turning an ordinary evening into something magical.
Fruity Pebbles Cheesecake Tacos for Dessert Fun
Everything Needed for Fruity Pebbles Cheesecake Tacos
Taco Shell Base:Cheesecake Filling:Toppings and Garnish:Building Fruity Pebbles Cheesecake Tacos from Scratch
Step 1: Craft Colorful Cereal Shells
Grab a medium saucepan and melt butter over gentle heat. Toss in marshmallows and stir until they transform into a silky smooth mixture. Take the pan off the heat and fold in Fruity Pebbles cereal, making sure every piece gets a cozy marshmallow coating. While the mixture is still warm and pliable:Drape the sticky cereal mixture to create curved taco shell shapes. Let them cool and firm up on a parchment-lined baking sheet. Keep shaping until you’ve used all the mixture.
Step 2: Whip Up Dreamy Cheesecake Filling
In a large mixing bowl, beat cream cheese until it’s silky smooth. Add powdered sugar and vanilla extract, mixing until the combination becomes creamy and luxurious. In a separate bowl, whip heavy cream until it forms stiff, billowy peaks. Gently fold the whipped cream into the cream cheese mixture, creating a light and fluffy filling.
Step 3: Assemble Magical Dessert Tacos
Fill each crispy cereal shell with the luscious cheesecake mixture. Get creative with toppings like:Step 4: Chill and Serve
Pop the tacos in the refrigerator for 15-30 minutes to help them set. This step is optional but can enhance the texture and make them easier to handle.
Tips That Improve Fruity Pebbles Cheesecake Tacos
Store and Enjoy Fruity Pebbles Cheesecake Tacos Later
Treats That Go with Fruity Pebbles Cheesecake Tacos
Remix Your Fruity Pebbles Cheesecake Tacos This Way
Fruity Pebbles Cheesecake Tacos: Most Asked Questions
Grease your hands and the utensil you’re using to shape the shells to prevent sticking. Work quickly while the mixture is still warm and malleable, and be gentle when handling the shells.
Yes, you can prepare the Fruity Pebbles shells up to 2 days in advance. Store them in an airtight container at room temperature, separated by parchment paper to prevent sticking.
If the mixture is too sticky, let it cool for a few minutes or lightly grease your hands with butter or cooking spray. This will make shaping the shells much easier.
While Fruity Pebbles work best for flavor and color, you could try Rice Krispies or Cocoa Pebbles as alternative options. Just ensure the cereal can hold its shape when mixed with marshmallows.
Print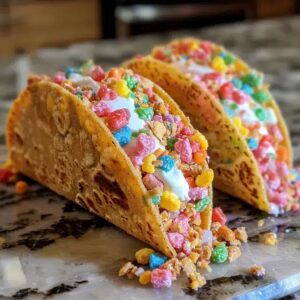
Fruity Pebbles Cheesecake Tacos Recipe
- Total Time: 35 minutes
- Yield: 8 1x
Description
Sweet Fruity Pebbles Cheesecake Tacos blend childhood nostalgia with playful dessert creativity. Crispy cereal shells cradle creamy cheesecake filling, promising delightful bites you’ll crave again and again.
Ingredients
Fruity Pebbles Cheesecake Tacos
Main Ingredients:
- 2 cups Fruity Pebbles cereal
- 2 cups mini marshmallows
- 8 ounces (226 grams) cream cheese
- 1 cup heavy whipping cream
- ½ cup powdered sugar
Binding and Flavoring Ingredients:
- 2 tablespoons butter
- 1 teaspoon vanilla extract
Optional Toppings:
- Extra Pebbles cereal
- Whipped cream
- Sprinkles
- White chocolate drizzle
Instructions
- Prepare the vibrant Fruity Pebbles taco shells by gently melting butter in a medium saucepan over low heat, then gradually incorporate marshmallows until completely smooth and glossy.
- Remove the marshmallow mixture from heat and thoroughly fold in Fruity Pebbles cereal, ensuring each colorful morsel is evenly coated.
- While the mixture remains warm and pliable, carefully mold approximately two tablespoons of the mixture over the back of a greased utensil, creating a curved taco shell shape.
- Place each formed shell on a parchment-lined baking sheet, allowing them to cool and solidify completely. Repeat the process until all mixture is used.
- In a spacious mixing bowl, whip cream cheese until ultra-smooth and creamy, then gradually blend in powdered sugar and vanilla extract.
- In a separate bowl, vigorously whip heavy cream until it forms distinct, sturdy peaks that hold their shape.
- Delicately fold the whipped cream into the cream cheese mixture, creating a light, airy cheesecake filling with a uniform texture.
- Generously fill each crisp Fruity Pebbles taco shell with the luscious cheesecake mixture, using a spoon or piping bag for precision.
- Embellish the filled tacos with additional Fruity Pebbles, dollops of whipped cream, or your preferred decorative toppings.
- For a firmer consistency, refrigerate the completed dessert for 15-20 minutes before serving.
Notes
- Experiment with different cereal flavors like Cocoa Pebbles or Cinnamon Toast Crunch for unique variations that add exciting twists to the classic recipe.
- Ensure marshmallows are completely melted and mixed with cereal to create sturdy, crisp taco shells that hold their shape without crumbling.
- For gluten-free alternatives, use certified gluten-free crispy rice cereal and check marshmallow brands to accommodate dietary restrictions.
- Chill the cheesecake filling for 30 minutes before piping to achieve a firmer, more stable texture that makes decorating and serving easier.
- Prep Time: 20 minutes
- Cook Time: 15 minutes
- Category: Desserts, Snacks
- Method: Baking
- Cuisine: American
Nutrition
- Serving Size: 8
- Calories: 200
- Sugar: 2 g
- Sodium: 300 mg
- Fat: 10 g
- Saturated Fat: 2 g
- Unsaturated Fat: 8 g
- Trans Fat: 0 g
- Carbohydrates: 24 g
- Fiber: 1 g
- Protein: 4 g
- Cholesterol: 5 mg
Ethan Miller
Founder & Lead Content Writer
Expertise
Education
Portland Community College
Culinary Institute of the Pacific
Ethan’s culinary journey began in his grandmother’s kitchen, where he first learned to play with flavors and ingredients. With formal training in culinary arts and a deep love for international cuisines, Ethan’s goal is to share the joy of cooking with others.
He believes food is all about creativity and bringing people together, one meal at a time. When he’s not experimenting with new dishes, he enjoys hiking in the Oregon wilderness and discovering fresh, local ingredients.