
Adorable Bunny Butt Oreo Balls Recipe: Hop into Sweet Fun
Sweet-toothed dessert lovers adore these playful bunny butt oreo balls that transform ordinary cookie treats into adorable springtime delights.
Whimsical shapes capture everyone’s imagination with their cute design.
Kids absolutely go crazy for these hilarious little confections.
Minimal ingredients create maximum fun in just minutes.
Chocolate and cream cheese combine perfectly to build these charming nibbles.
Simple decorating techniques make you look like a professional pastry chef.
Hop into the kitchen and create these irresistible sweet bites that will spark joy and laughter at any gathering.
Bunny Butt Oreo Balls That Spark Smiles
What’s in Bunny Butt Oreo Balls
Base Ingredients:Main Coating:Decorative Elements:Making Bunny Butt Oreo Balls at Home
Step 1: Crush Oreo Cookies
Toss Oreo cookies into a food processor and pulse until they transform into fine, sandy crumbs. Drop in softened cream cheese and blend until the mixture becomes a smooth, unified blob.
Step 2: Shape Adorable Balls
Scoop out the mixture and roll into cute one-inch spheres. Arrange these little treats on a parchment-lined baking sheet and pop them into the freezer for a quick 20-30 minute chill.
Step 3: Prepare Smooth Coating
Melt white chocolate or candy melts using either microwave or double boiler method:Stir gently until completely liquid and silky.
Step 4: Dunk and Cover
Carefully dip each frozen ball into the melted white coating. Let excess chocolate drip off and place back on the baking sheet. Allow to set at room temperature or speed up the process in the refrigerator.
Step 5: Create Bunny Details
Craft adorable bunny features:Step 6: Final Touch
Let all decorations set completely. Your whimsical bunny butt Oreo balls are ready to delight and surprise!
Tips for Bunny Butt Oreo Balls That Stick
How to Store Bunny Butt Oreo Balls Safely
Bunny Butt Oreo Balls Pair Well With These
Silly and Sweet Twists on Bunny Butt Oreo Balls
Bunny Butt Oreo Balls: Q&A Time
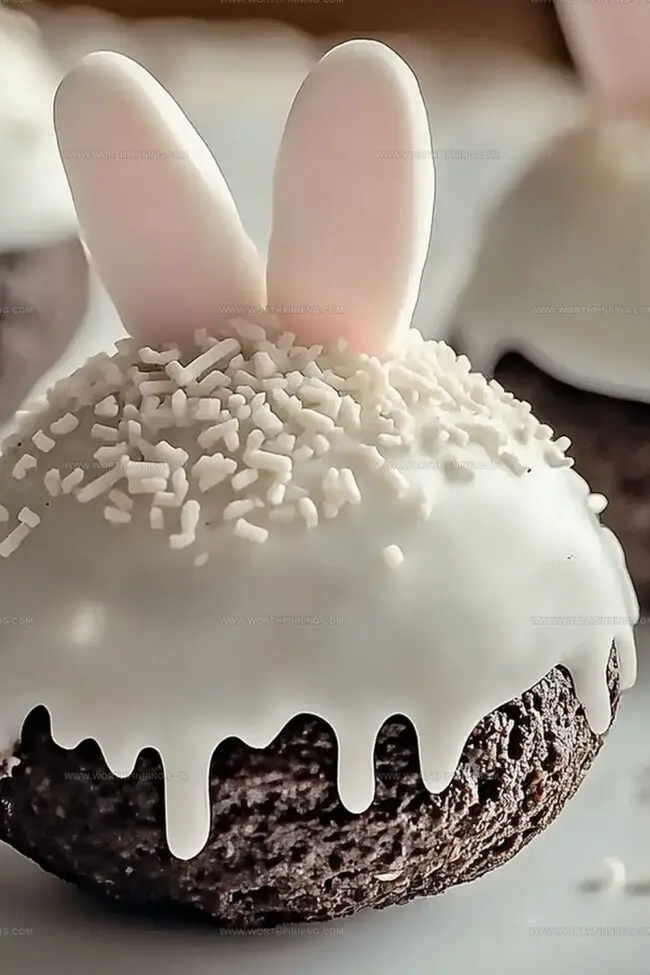
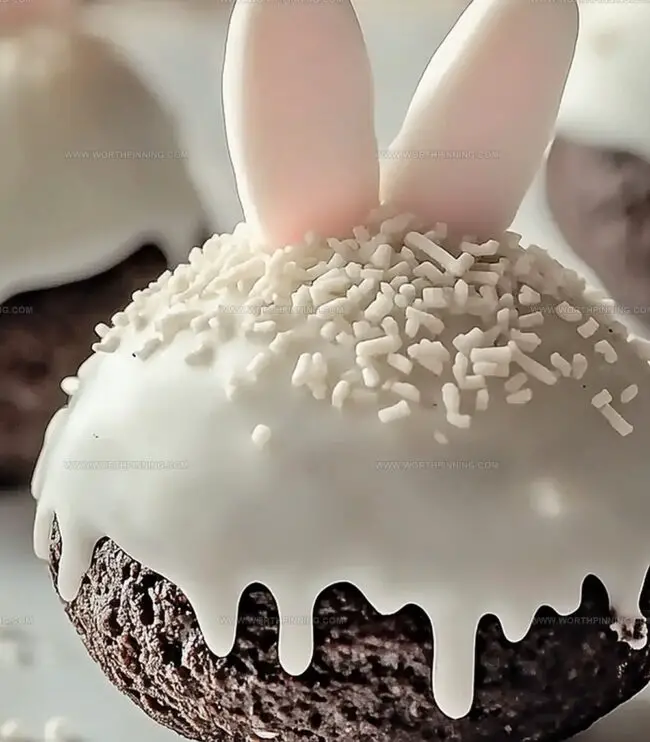
These cute treats are designed to look like adorable bunny backsides with tiny marshmallow tails and delicate pink feet, making them a playful Easter or spring-themed dessert that’s sure to make people smile.
Absolutely! Kids can help roll the Oreo balls, attach marshmallow tails, and decorate the feet with adult supervision. It’s a fun and engaging activity that allows children to be creative in the kitchen.
You’ll just need a piping bag or a plastic sandwich bag with a corner snipped off to create the pink feet on wax paper. An edible marker can help add cute toe details if you want extra precision.
You can prepare these cute treats up to 3-4 days in advance. Store them in an airtight container in the refrigerator, and they’ll stay fresh and maintain their adorable shape until you’re ready to serve.
Print
Bunny Butt Oreo Balls Recipe
- Total Time: 1 hour
- Yield: 20 1x
Description
Playful bunny butt oreo balls hop onto dessert tables with whimsical charm, bringing sweet giggles to springtime gatherings. Chocolate-coated treats with cute marshmallow tails create delightful moments you’ll remember long after the last bite.
Ingredients
Main Ingredients:
- 36 Oreo cookies (1 standard 14.3 ounces / 405 grams package)
- 8 ounces (226 grams) cream cheese, softened
Coating Ingredients:
- 12 ounces (340 grams) white chocolate or white candy melts
- Pink candy melts
Decorative Ingredients:
- Mini marshmallows or white chocolate chips
- Pink confetti sprinkles or edible markers
Instructions
- Transform golden-brown Oreo cookies into fine, uniform crumbs using a food processor, ensuring no large chunks remain.
- Incorporate softened cream cheese into the cookie crumbs, mixing thoroughly until a cohesive, smooth mixture forms.
- Carefully shape the mixture into uniform, compact spheres approximately one inch in diameter.
- Transfer the formed spheres onto a parchment-lined baking sheet and place in the freezer for 20-30 minutes to firm up.
- Meanwhile, gently melt white chocolate or candy melts using a double boiler or microwave, stirring periodically to maintain a smooth consistency.
- Remove chilled Oreo balls and delicately immerse each one into the melted white chocolate, allowing excess coating to drip off.
- Return dipped spheres to the parchment-lined sheet, ensuring they do not touch each other.
- While the chocolate coating remains slightly tacky, affix a miniature marshmallow or white chocolate chip to represent the bunny’s tail.
- Create delicate pink feet by piping melted pink candy onto wax paper in small oval shapes, allowing them to completely solidify.
- Use additional pink candy melt or an edible marker to define subtle toe pad details on the hardened feet.
- Attach the prepared feet beneath the tail using a minimal amount of melted chocolate as adhesive.
- Allow all decorative elements to set completely at room temperature or expedite the process by briefly chilling in the refrigerator.
- Once fully set, serve or store the whimsical bunny butt Oreo balls in an airtight container.
Notes
- Crumb Consistency Matters: Pulse Oreos into extremely fine crumbs for a smoother, more uniform texture that helps bind the mixture perfectly.
- Cream Cheese Temperature Hack: Ensure cream cheese is truly softened at room temperature to blend seamlessly without lumps, creating a silky-smooth base.
- Freezing Trick: Chilling the balls before dipping prevents them from falling apart during chocolate coating and helps achieve a neater, more professional finish.
- Decoration Pro Tip: Work quickly when attaching marshmallow tails and chocolate feet while the white coating is still slightly tacky to ensure they stick securely.
- Prep Time: 30 minutes
- Cook Time: 30 minutes
- Category: Desserts, Snacks
- Method: Blending
- Cuisine: American
Nutrition
- Serving Size: 20
- Calories: 520
- Sugar: 2 g
- Sodium: 800 mg
- Fat: 26 g
- Saturated Fat: 6 g
- Unsaturated Fat: 18 g
- Trans Fat: 0 g
- Carbohydrates: 48 g
- Fiber: 5 g
- Protein: 30 g
- Cholesterol: 90 mg
Ethan Miller
Founder & Lead Content Writer
Expertise
Education
Portland Community College
Culinary Institute of the Pacific
Ethan’s culinary journey began in his grandmother’s kitchen, where he first learned to play with flavors and ingredients. With formal training in culinary arts and a deep love for international cuisines, Ethan’s goal is to share the joy of cooking with others.
He believes food is all about creativity and bringing people together, one meal at a time. When he’s not experimenting with new dishes, he enjoys hiking in the Oregon wilderness and discovering fresh, local ingredients.