Dreamy Beach Pudding Cups Recipe: A Sweet Summer Treat
Sand-dusted memories of childhood summers inspired this delightful beach pudding cups that transport you to seaside memories.
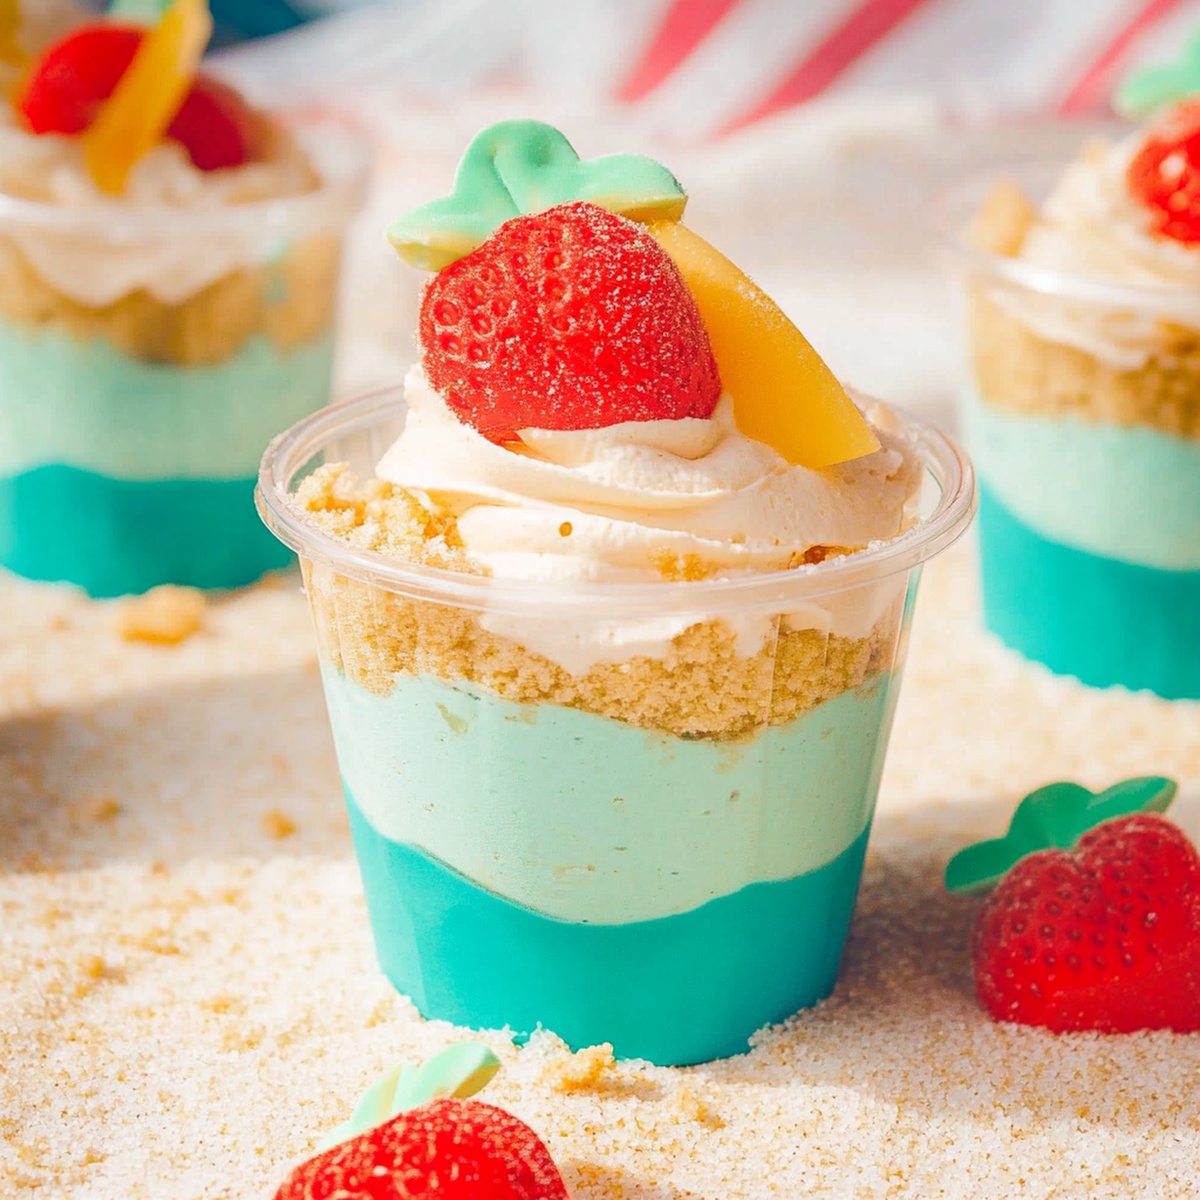
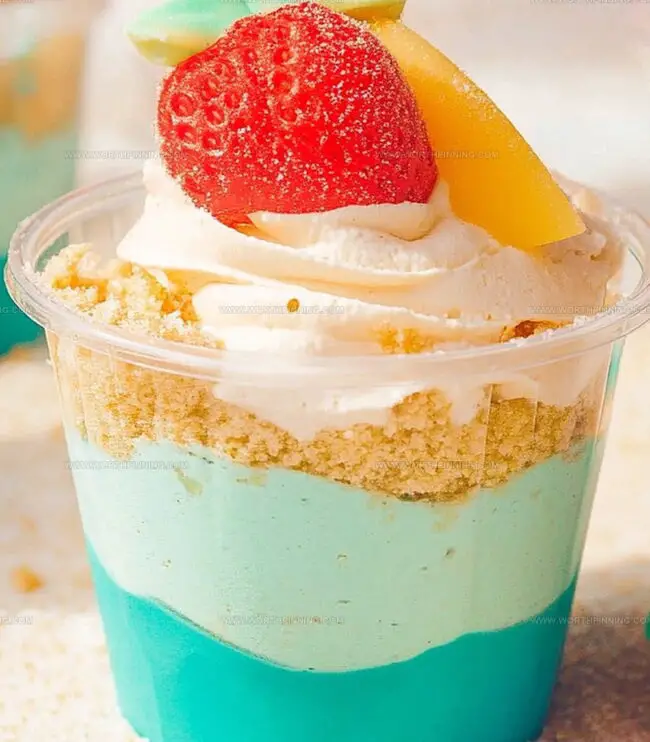
Layers of creamy goodness capture the essence of coastal relaxation.
Crumbled cookies mimic soft sandy textures while sweet pudding waves create a playful dessert landscape.
Coastal colors and clever decorations make these treats a whimsical delight for everyone.
Cool ocean-inspired ingredients blend together with surprising ease.
Simple ingredients come together in minutes, promising a delicious escape.
You’ll want to dive into these charming cups and savor every blissful bite.
Beach Pudding Cups That Kids Love

Ingredients for Whimsical Beach Pudding Cups
Pudding Base:Flavor and Color Enhancers:Decorative Toppings:How to Assemble Beach Pudding Cups
Step 1: Whip Up Creamy Base
In a large mixing bowl, blend pudding mix with chilled milk using a whisk. Stir continuously for two minutes until smooth and well combined. Allow mixture to rest for five minutes, letting it thicken and develop a rich, creamy texture.
Step 2: Fold In Fluffy Clouds
Gently incorporate whipped topping into the pudding mixture. Blend carefully, ensuring a light and airy consistency without deflating the mixture. Stir until everything is perfectly integrated.
Step 3: Create Ocean Magic
Add a splash of blue food coloring to transform the pudding into a mesmerizing sea-like hue. Mix thoroughly to achieve an even, vibrant blue that mimics tropical waters.
Step 4: Build Your Beachy Landscape
Select clear serving cups or glasses. Carefully spoon the blue-tinted pudding into each container, distributing evenly to create a smooth surface that resembles calm ocean waters.
Step 5: Craft Sandy Shores
Crush graham crackers or vanilla wafers into fine crumbs. Sprinkle the crumbs generously over the top of the pudding, creating a realistic sandy beach effect.
Step 6: Add Playful Beach Decorations
Embellish your dessert with fun ocean-themed elements:Step 7: Chill and Serve
Refrigerate the dessert cups for at least 30 minutes to allow flavors to meld and texture to set. Keep chilled until ready to delight your guests with these whimsical tropical treats.
Tips for Beach Pudding Cups That Look Great
How to Keep Beach Pudding Cups Fresh
Snacks That Pair Well with Beach Pudding Cups
Creative Ideas for Beach Pudding Cups
FAQs About Beach Pudding Cups
Yes, vanilla or coconut pudding works great and still gives a beach-like feel.
Let kids help decorate with candies and create their own beach scene in the cup.
Skip it or use a small amount of green food coloring for a different ocean water effect.
Use non-dairy milk and dairy-free whipped topping to make the recipe completely lactose-free.
Print
Beach Pudding Cups Recipe
- Total Time: 40 minutes
- Yield: 4 1x
Description
Coastal charm meets sweet indulgence in these beach pudding cups, a delightful dessert that whispers of sandy shores and summer memories. Creamy layers and playful toppings invite you to savor a moment of tropical bliss with each delectable spoonful.
Ingredients
Main Ingredients:
- 2 cups cold milk
- 1 (3.4 ounces / 96 grams) box instant vanilla pudding mix
- 1 cup whipped topping (like Cool Whip), thawed
Decoration and Texture:
- 8 vanilla wafers or golden Oreos, crushed (for sand)
- 6–8 gummy fish or sharks
Styling Elements:
- Blue food coloring (optional, for ocean effect)
- 6–8 mini drink umbrellas or paper straws (for decoration)
- 6 small clear plastic cups
Instructions
- Whisk pudding mix with cold milk thoroughly for two minutes, allowing the mixture to set and thicken for an additional five minutes.
- Gently incorporate whipped topping into the pudding, ensuring complete and smooth integration.
- Introduce a few drops of blue food coloring, stirring meticulously until the pudding achieves a uniform ocean-like hue.
- Distribute the colored pudding evenly among clear serving vessels, creating a smooth and consistent base.
- Sprinkle crushed cookies across the pudding surface, mimicking a sandy beach landscape.
- Embellish each pudding cup with playful beach-themed decorations such as gummy fish, miniature umbrellas, or whimsical ocean-inspired candies.
- Refrigerate the prepared desserts for a minimum of thirty minutes to enhance flavor melding and achieve optimal serving temperature.
- Store in the refrigerator until the moment of serving to maintain the pudding’s fresh and vibrant presentation.
Notes
- Customize pudding flavor by experimenting with different pudding mix varieties like white chocolate or banana for unique beach-themed desserts.
- Create dairy-free versions by using almond, coconut, or oat milk instead of regular milk to accommodate lactose-intolerant guests.
- Use gluten-free graham crackers or vanilla wafers for the “sand” layer to make the dessert suitable for those with gluten sensitivities.
- Enhance visual appeal by using natural blue food coloring or blending in a small amount of blue spirulina for a more organic ocean color effect.
- Prep Time: 10 minutes
- Cook Time: 30 minutes
- Category: Desserts, Snacks
- Method: None
- Cuisine: American
Nutrition
- Serving Size: 4
- Calories: 300
- Sugar: 21 g
- Sodium: 250 mg
- Fat: 18 g
- Saturated Fat: 10 g
- Unsaturated Fat: 7 g
- Trans Fat: 0 g
- Carbohydrates: 34 g
- Fiber: 3 g
- Protein: 4 g
- Cholesterol: 50 mg
Ethan Miller
Founder & Lead Content Writer
Expertise
Education
Portland Community College
Culinary Institute of the Pacific
Ethan’s culinary journey began in his grandmother’s kitchen, where he first learned to play with flavors and ingredients. With formal training in culinary arts and a deep love for international cuisines, Ethan’s goal is to share the joy of cooking with others.
He believes food is all about creativity and bringing people together, one meal at a time. When he’s not experimenting with new dishes, he enjoys hiking in the Oregon wilderness and discovering fresh, local ingredients.